I’ve been into astronomy for a while now, and I’ve really wanted a telescope. I’ve considered a couple of choices. Maybe I could get a Zhumell z100/z114/z130, a Sky-Watcher equatorial mount, and use my phone to take photos. But that seemed pretty expensive and unwieldy to a poor uni student like me. Instead, I decided to look at some all-in-one telescopes. They’re a relatively new competitor in the astrophotography scene, but they’ve received glowing reviews, especially for how easy they are to use. Many suggest them for beginners.
There are two that I considered, DwarfLab’s DWARF-3 telescope, and ZWO’s Seestar S50. Of these two, I thought that the Seestar S50 was much cheaper as I thought it had no taxes (it in fact, did) and it was 10% off for Christmas. Furthermore, I have actually had a positive personal experience with the Seestar in real life, and I have heard negative things on the internet about the DWARF’s lead time. So I decided to splurge and buy the Seestar.
I ordered the Telescope directly from ZWO’s Seestar website. Because of the Christmas sale, and the fact that the Great British Pound is much stronger than the United States Dollar, the $499 MSRP was about £370 here in the UK which was a pleasant surprise. This is much cheaper than the DWARF. Unfortunately, I didn’t read the fine print and found out that the telescope was shipping directly from China. This was a problem because it meant that I would have to pay around £100 in import fees, as well as waiting much longer than I thought. In hindsight this was completely my fault. I should have done more research and been less gullible. The DWARF-3 was actually about the same level value-wise, and I could have potentially bought it. But I guess this is a learning experience. I ordered my Seestar S50 on the 2nd of January 2025, and it arrived on the 20th of January 2025, 1 day earlier than its estimated arrival date.
Somewhat unsurprisingly, this past week after getting my Seestar, the sky has been mostly completely overcast, not allowing me to take many photos. Additionally, I’ve been quite busy attending interviews recently, meaning I haven’t gotten to photograph as many objects as I would like. However, I will share my limited initial experiences.
Unboxing and Setup
The Seestar S50 comes in a pretty strange case. It looks like it’s 3D printed because it might actually be. But the case is actually quite thick with a nice handle, and is actually pretty solid. It’s allegedly shock-proof, and seems like it will protect the camera just fine. Inside the box you get:
- The Seestar S50
- A USB type A to angled USB type C cable for charging
- A solar filter
- A tripod
I think the tripod is really nice, though it is very small. I don’t have much experience with tripods, but from what I can tell, the legs are thick with a nice rubber base, the mounting surface is rugged with a big screw, it features a levelling indicator, and it is adjustable. The legs are also really ’tight’ and hard to move, which seems quality. The way you adjust the length of the legs is that you unscrew these nice metal sleeves to release the tension and allow the inner leg to come out. A nice side effect of this is that rotating this sleeve also automatically extends the leg a small amount, allowing for great fine-tuning, which is actually quite important as I will mention later.
The build quality of the Seestar itself is alright. It seems to be made out of a relatively cheap plastic, and the plastic seams are very visible. I would not be comfortable dropping it at all. It’s also much more big and hefty than I imagined. However, the base of the telescope that sits on the tripod seems to be quite nice with better quality plastic and rubber soles. The power button on the side is clicky and when pressed down, is extremely uneven. It’s not a great button.
However I didn’t spend 2 weeks and almost 500 pounds to complain about this telescope on the internet. I screwed the telescope onto the tripod and started setting up the Seestar. The telescope generates its own Wi-Fi network. You connect to this Wi-Fi network on your phone, and use the app to control it. I sped through the setup process and put my Seestar outside in the garden. There were a couple gaps in the clouds that I wanted to try looking at.
First Imaging Experience
The very first thing I tried to photograph was Jupiter. As I write this post, Jupiter is extremely visible, brighter than even Sirius. The UI of the app is not what I expected. I thought that there would be a tab where I would be given free control of the telescope, but it seems that you need to go to the catalogue and select something to view. I went to the planetary menu and Selected Jupiter, and pressed GoTo. It did some initial calibrations which took a while, and then found Jupiter pretty quickly. However even though it was looking straight at Jupiter, the app kept saying ‘0.1 degrees from target’ and wouldn’t leave. I just pressed cancel, and was able to see the very first image from my telescope.
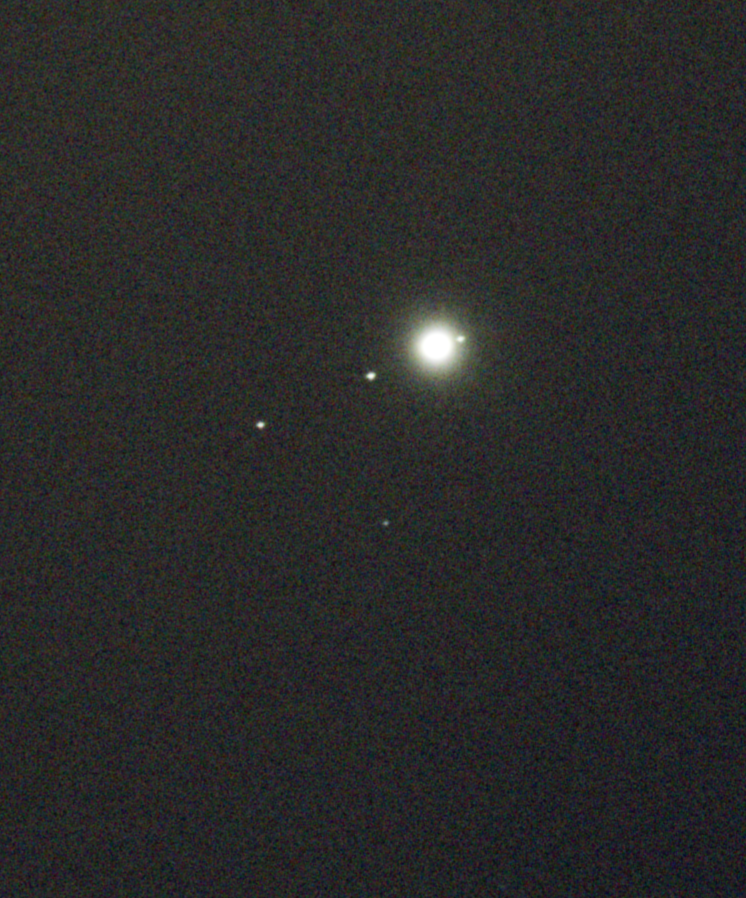
This image probably looks very boring to most, but to me this was fascinating. Being able to see distant celestial objects like Jupiter’s moons for the first time was really awesome. Of course the quality wasn’t great, but improving the quality was something that would come with practise, even on a mostly automatic telescope like this.
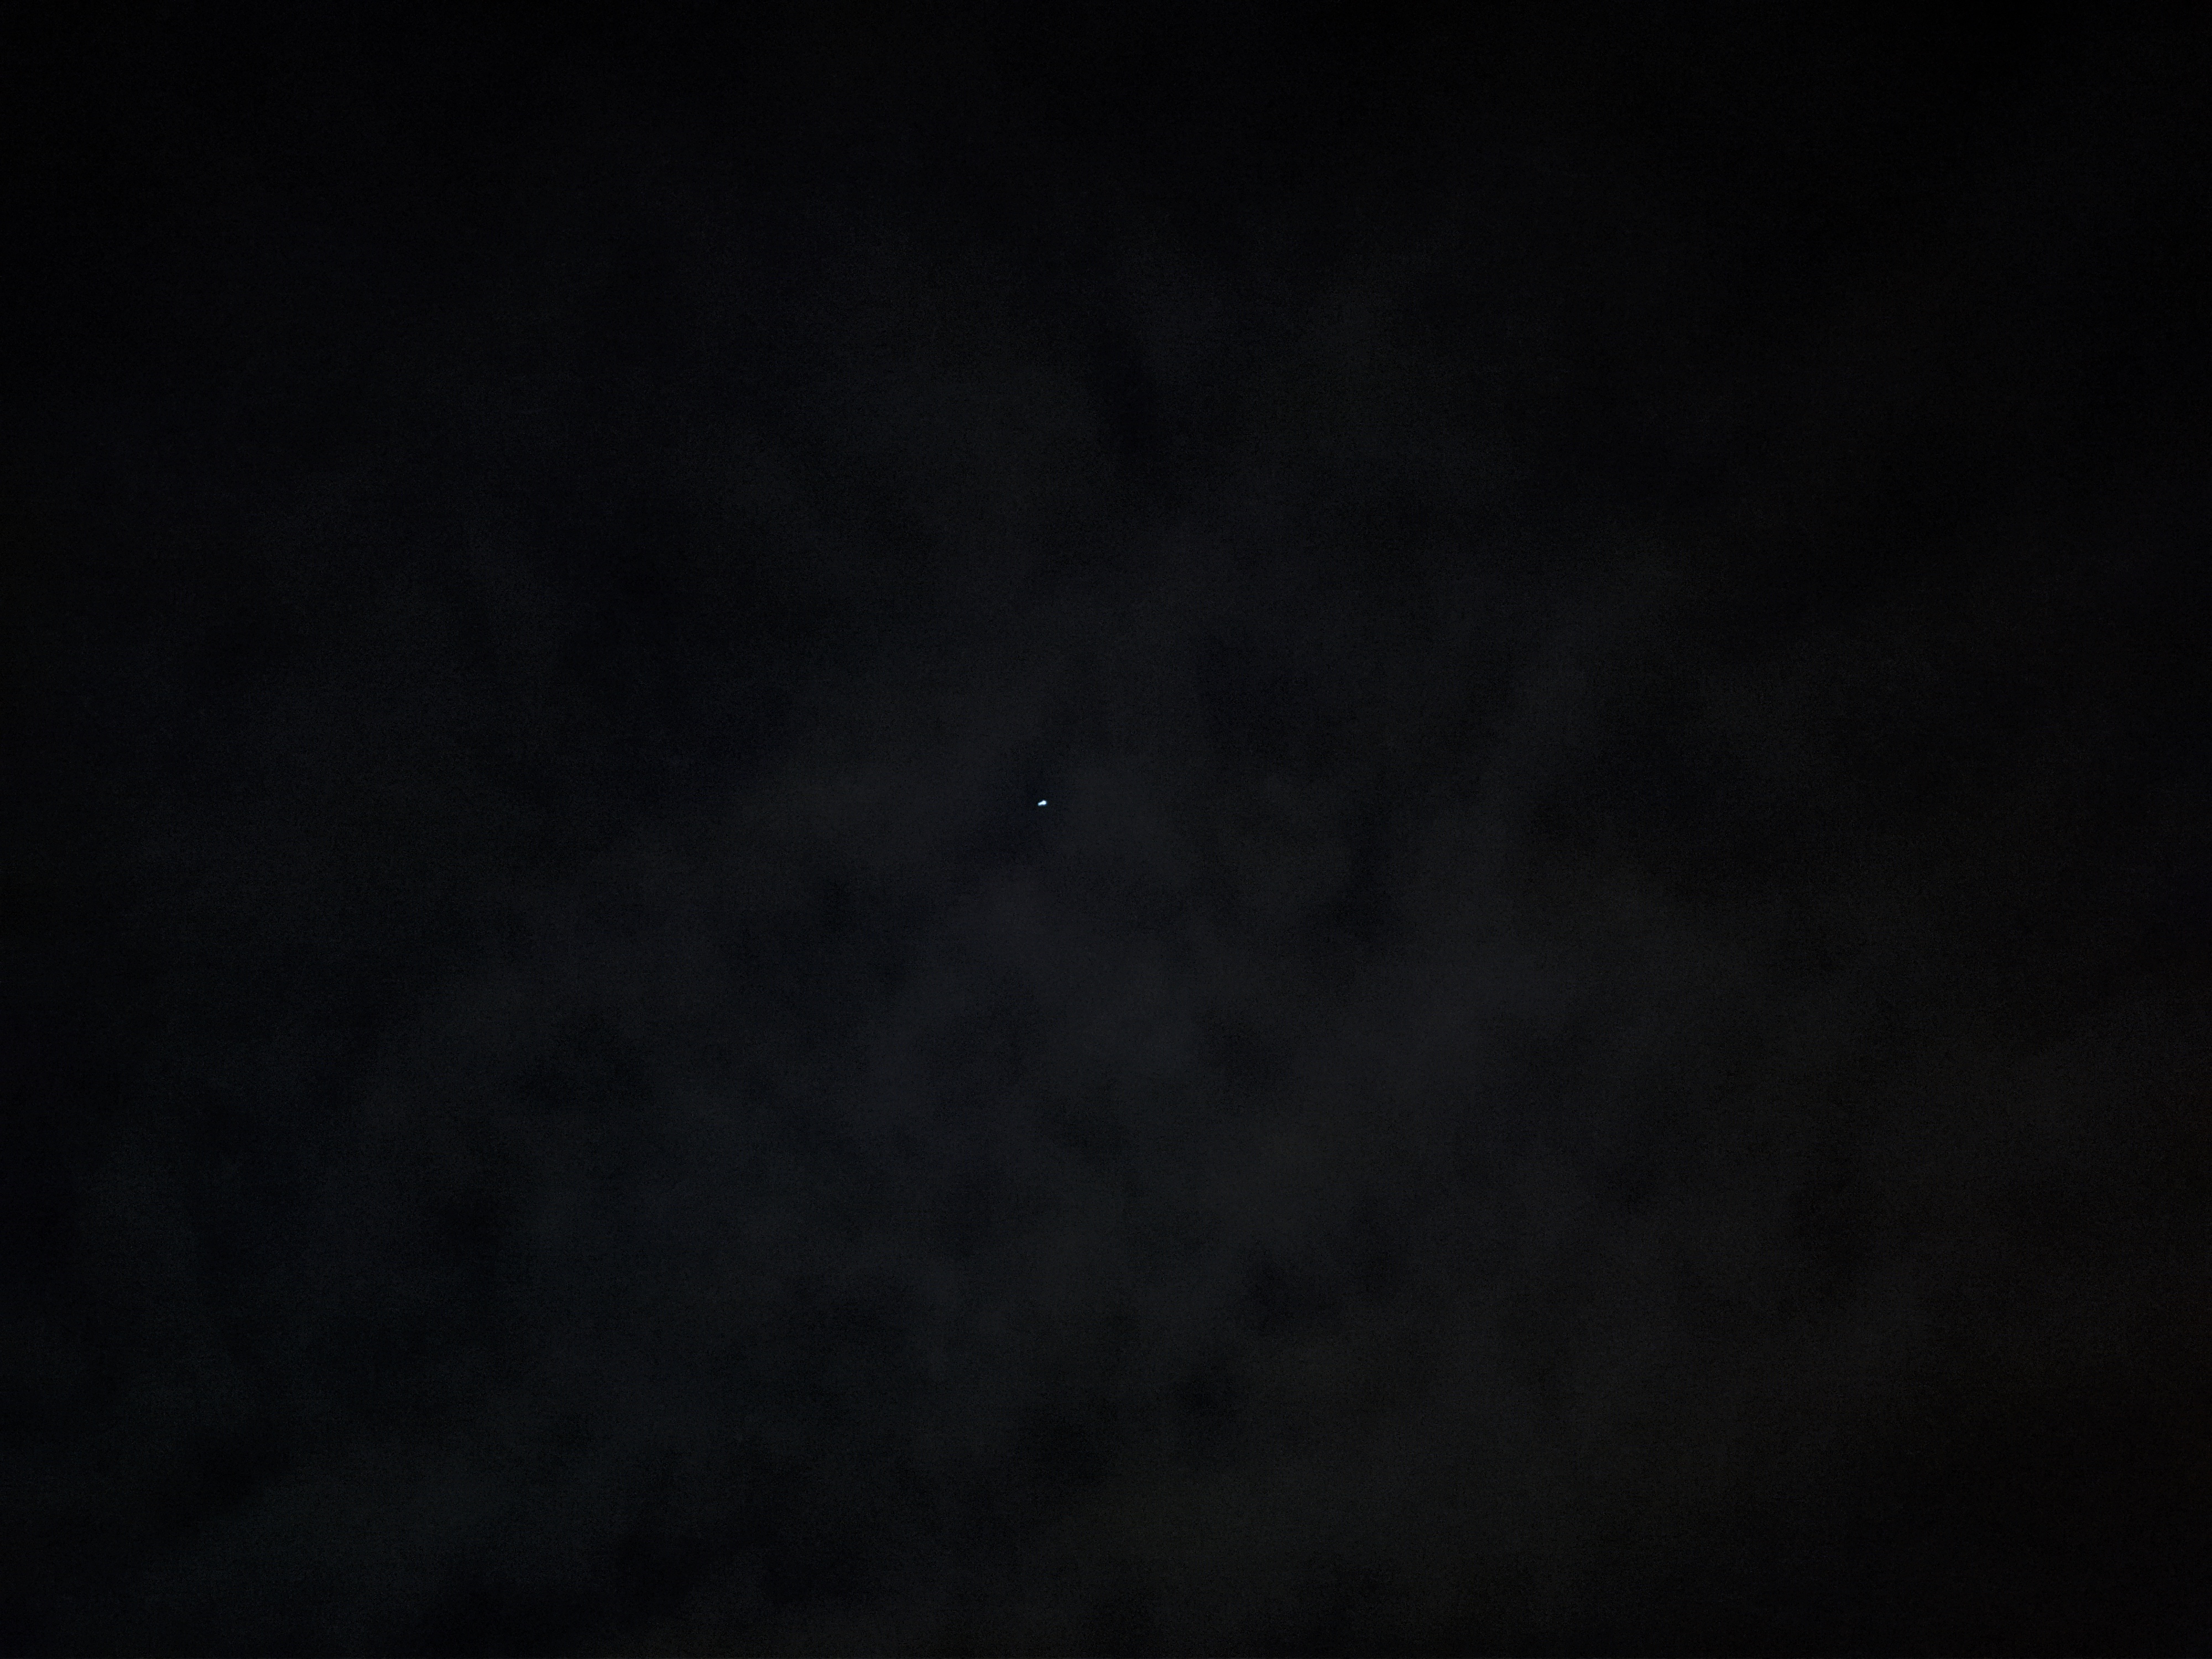
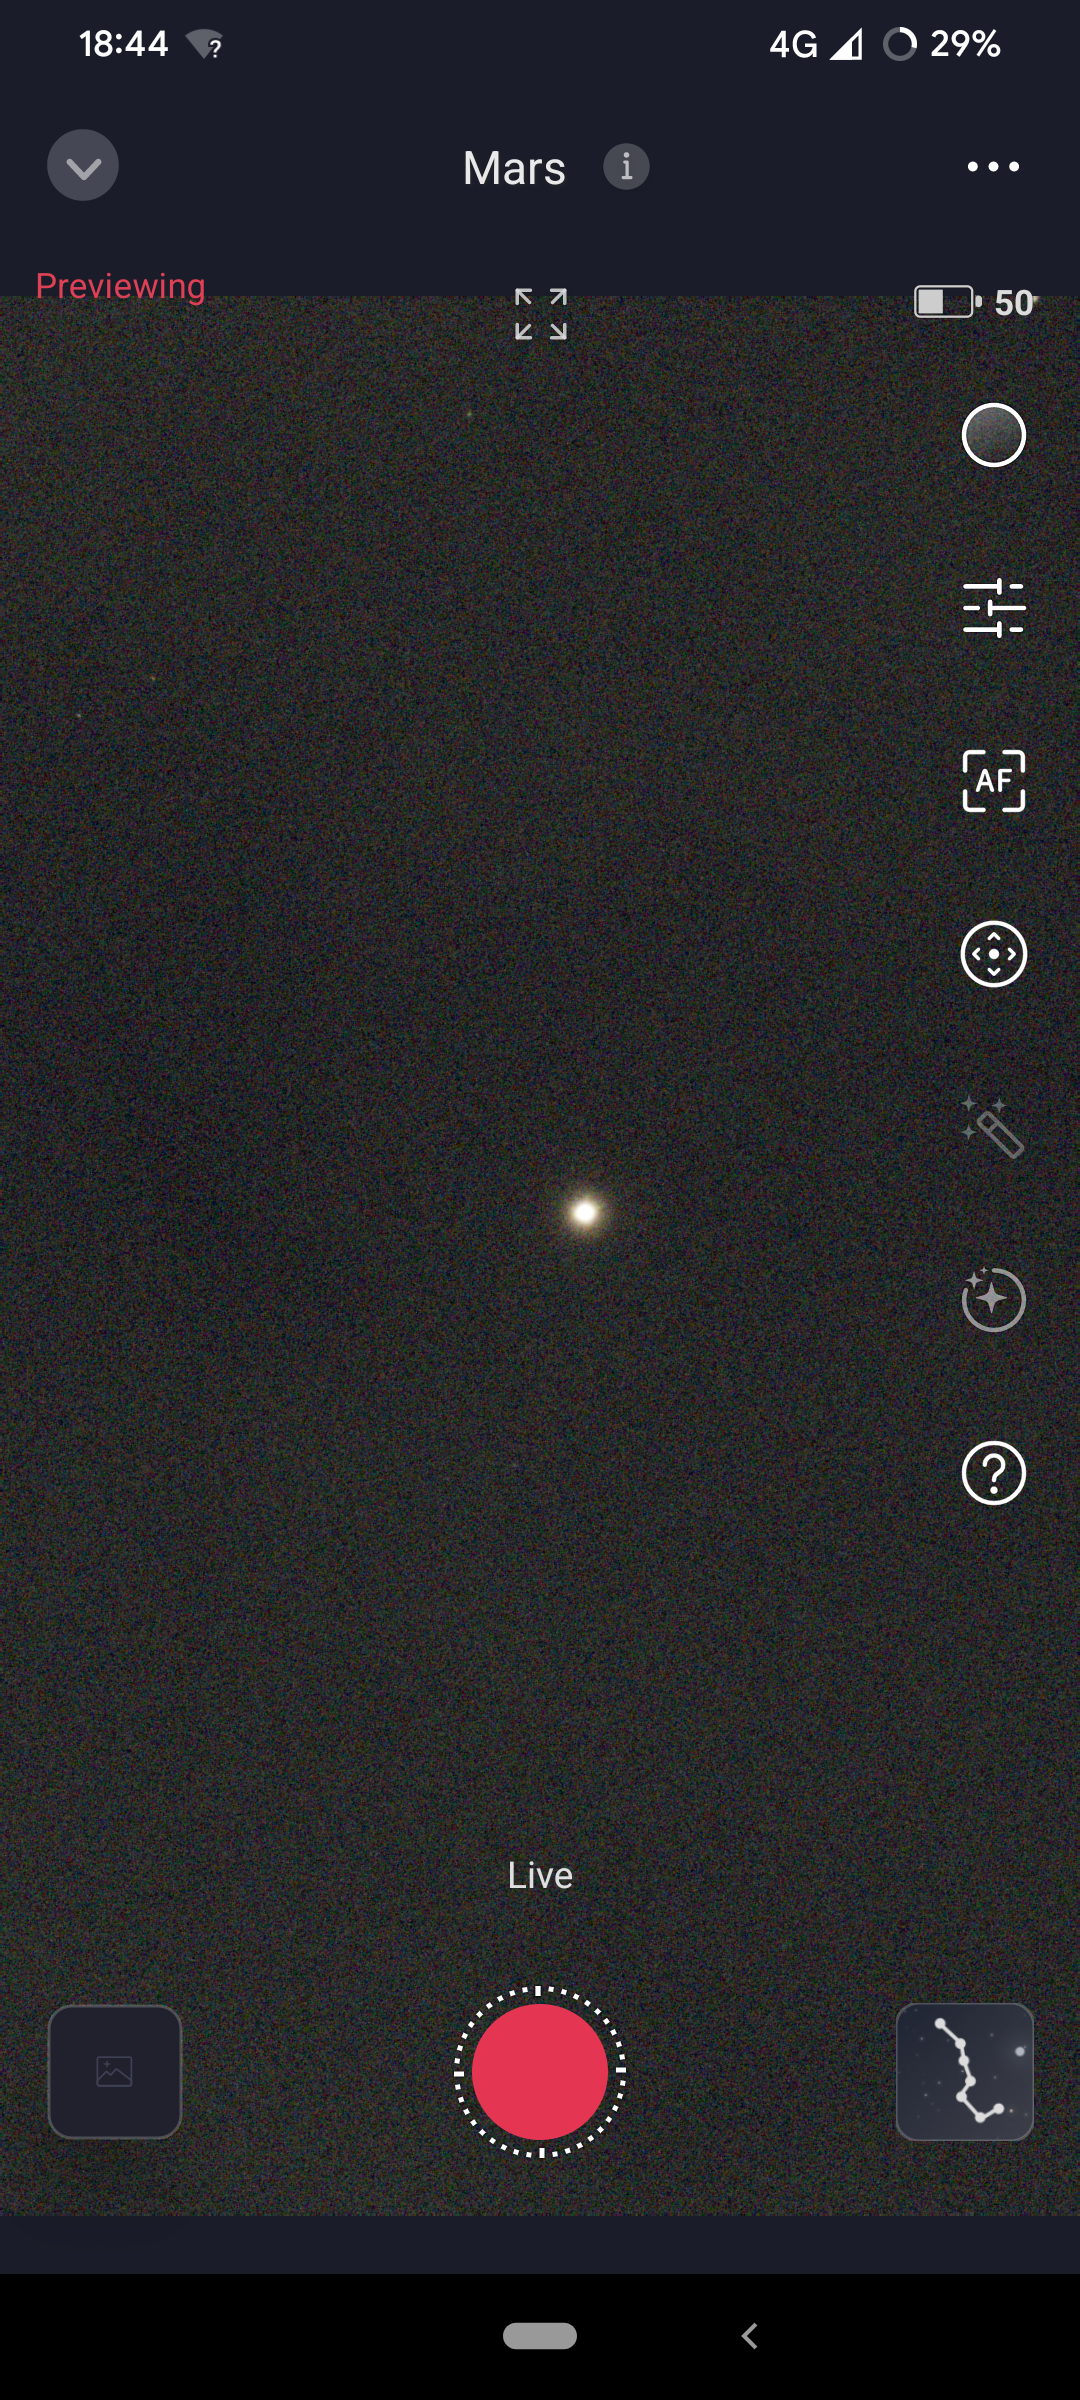
Currently we also just passed the Mars opposition, so I decided to try and snap a quick picture of Mars too. Pretty interesting to see that it is visibly red.
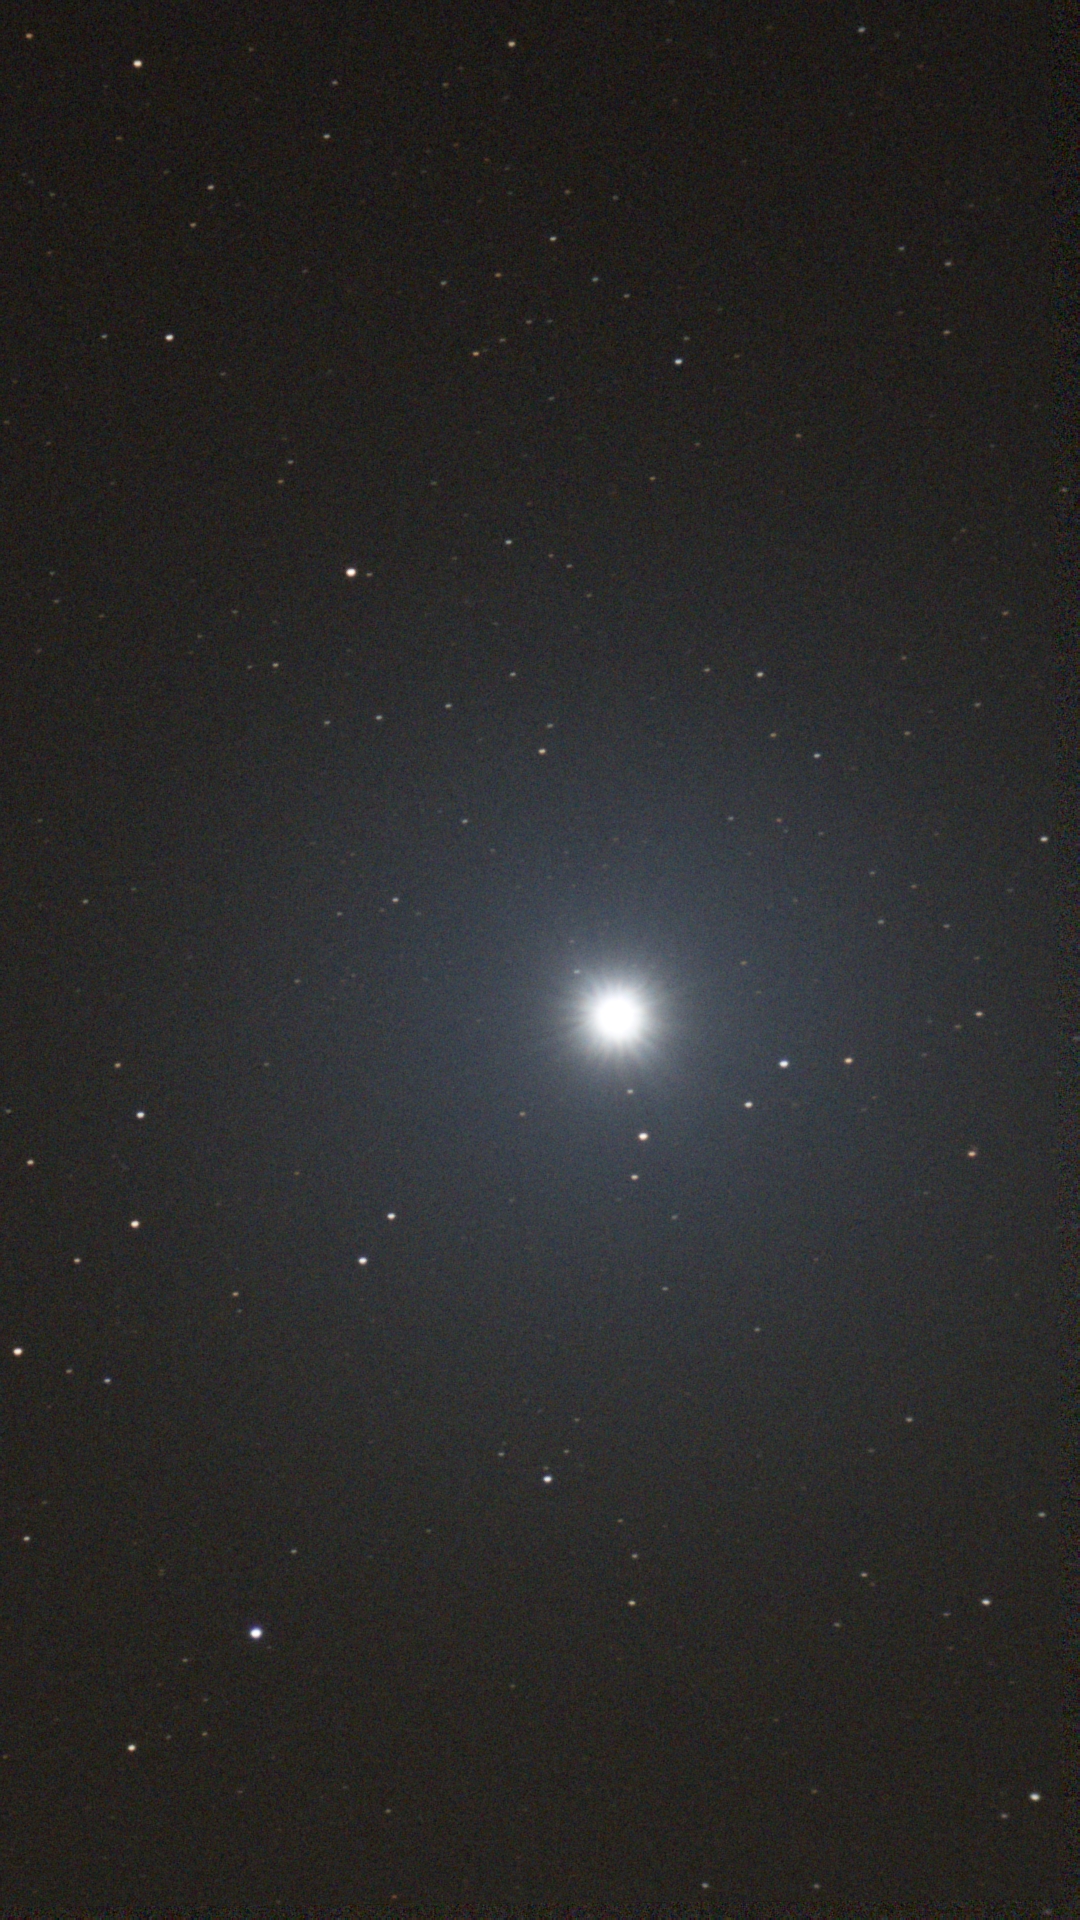
Now I wanted to try the stacking feature. This is integral to the telescope and basically the main reason of having it. There weren’t that many good subjects because of the clouds, so I simply decided to photograph Sirius. Unfortunately, I was only able to stack maybe one or two images before the app told me that it was discarding images because of star trails or because there weren’t enough stars. At the time I didn’t realise this meant that it’s only discarding the current exposure, and not the entire image. But I did manage to get this pretty nice picture of Sirius.
Second Session - Focussing and Nebulae
In my first session in the garden, I was starting to experience a problem where things like fences and buildings were seriously obstructing my view. I decided to get a better vantage point, and I put my telescope on my roof.
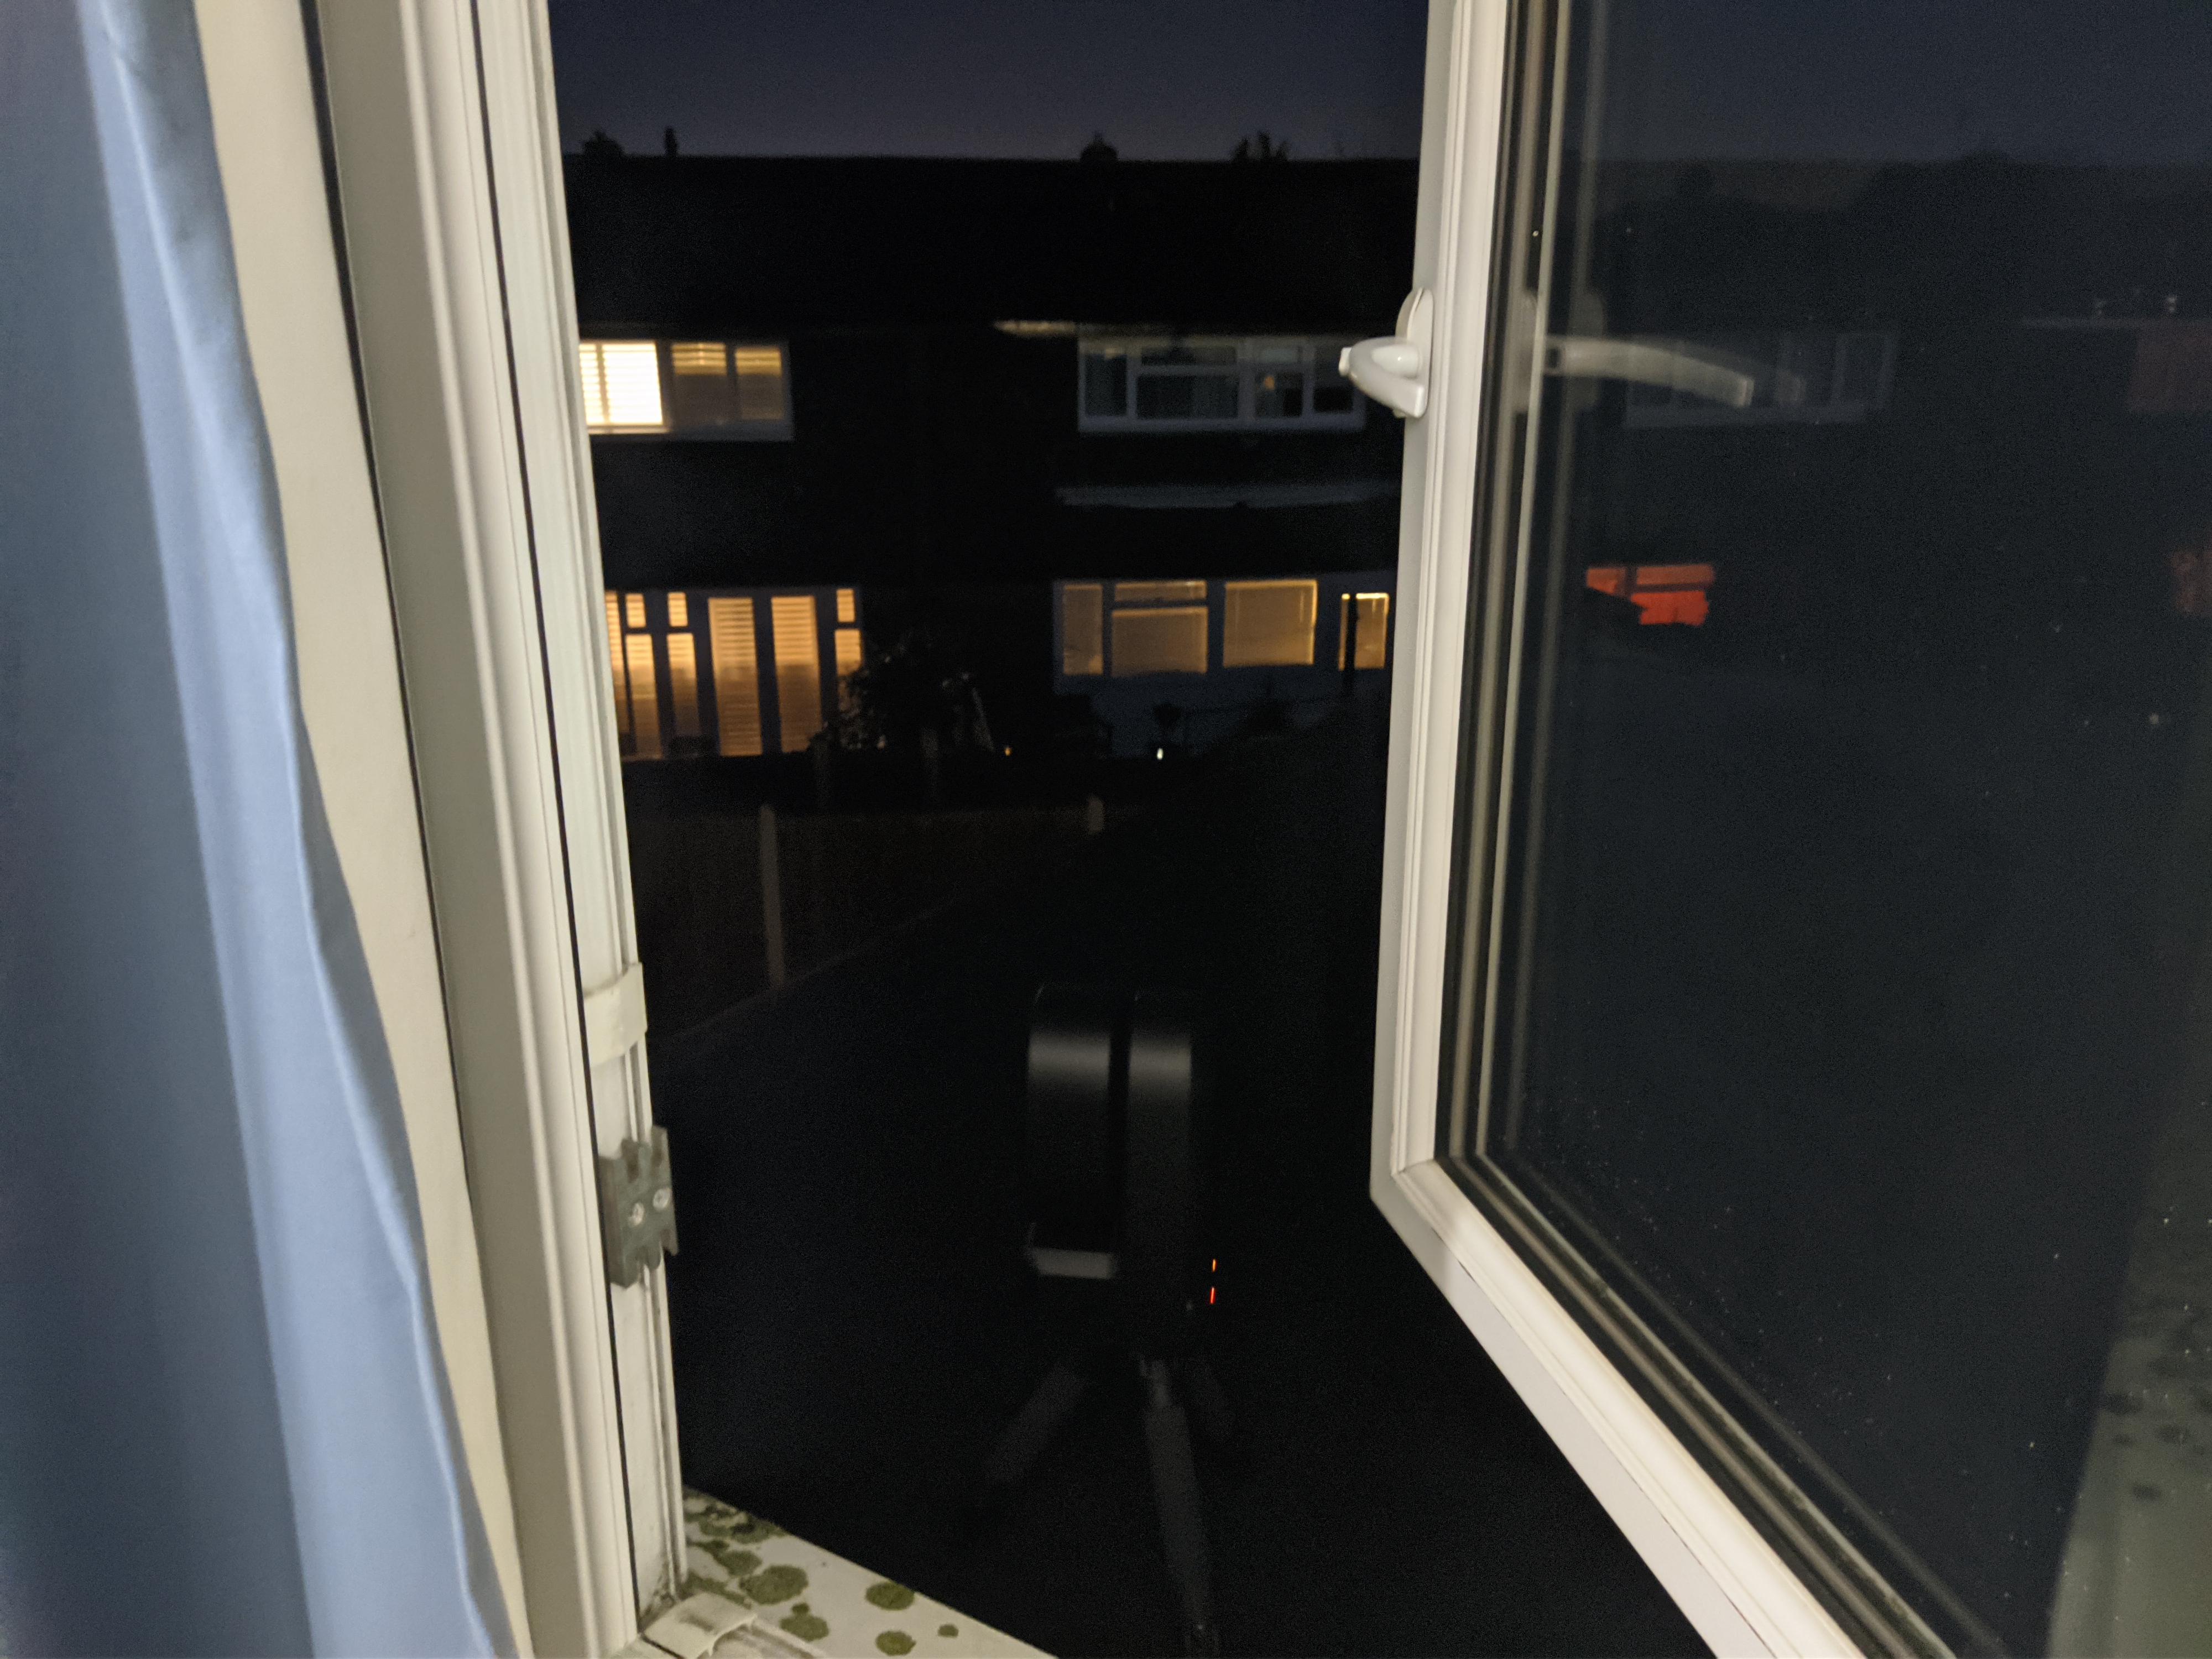
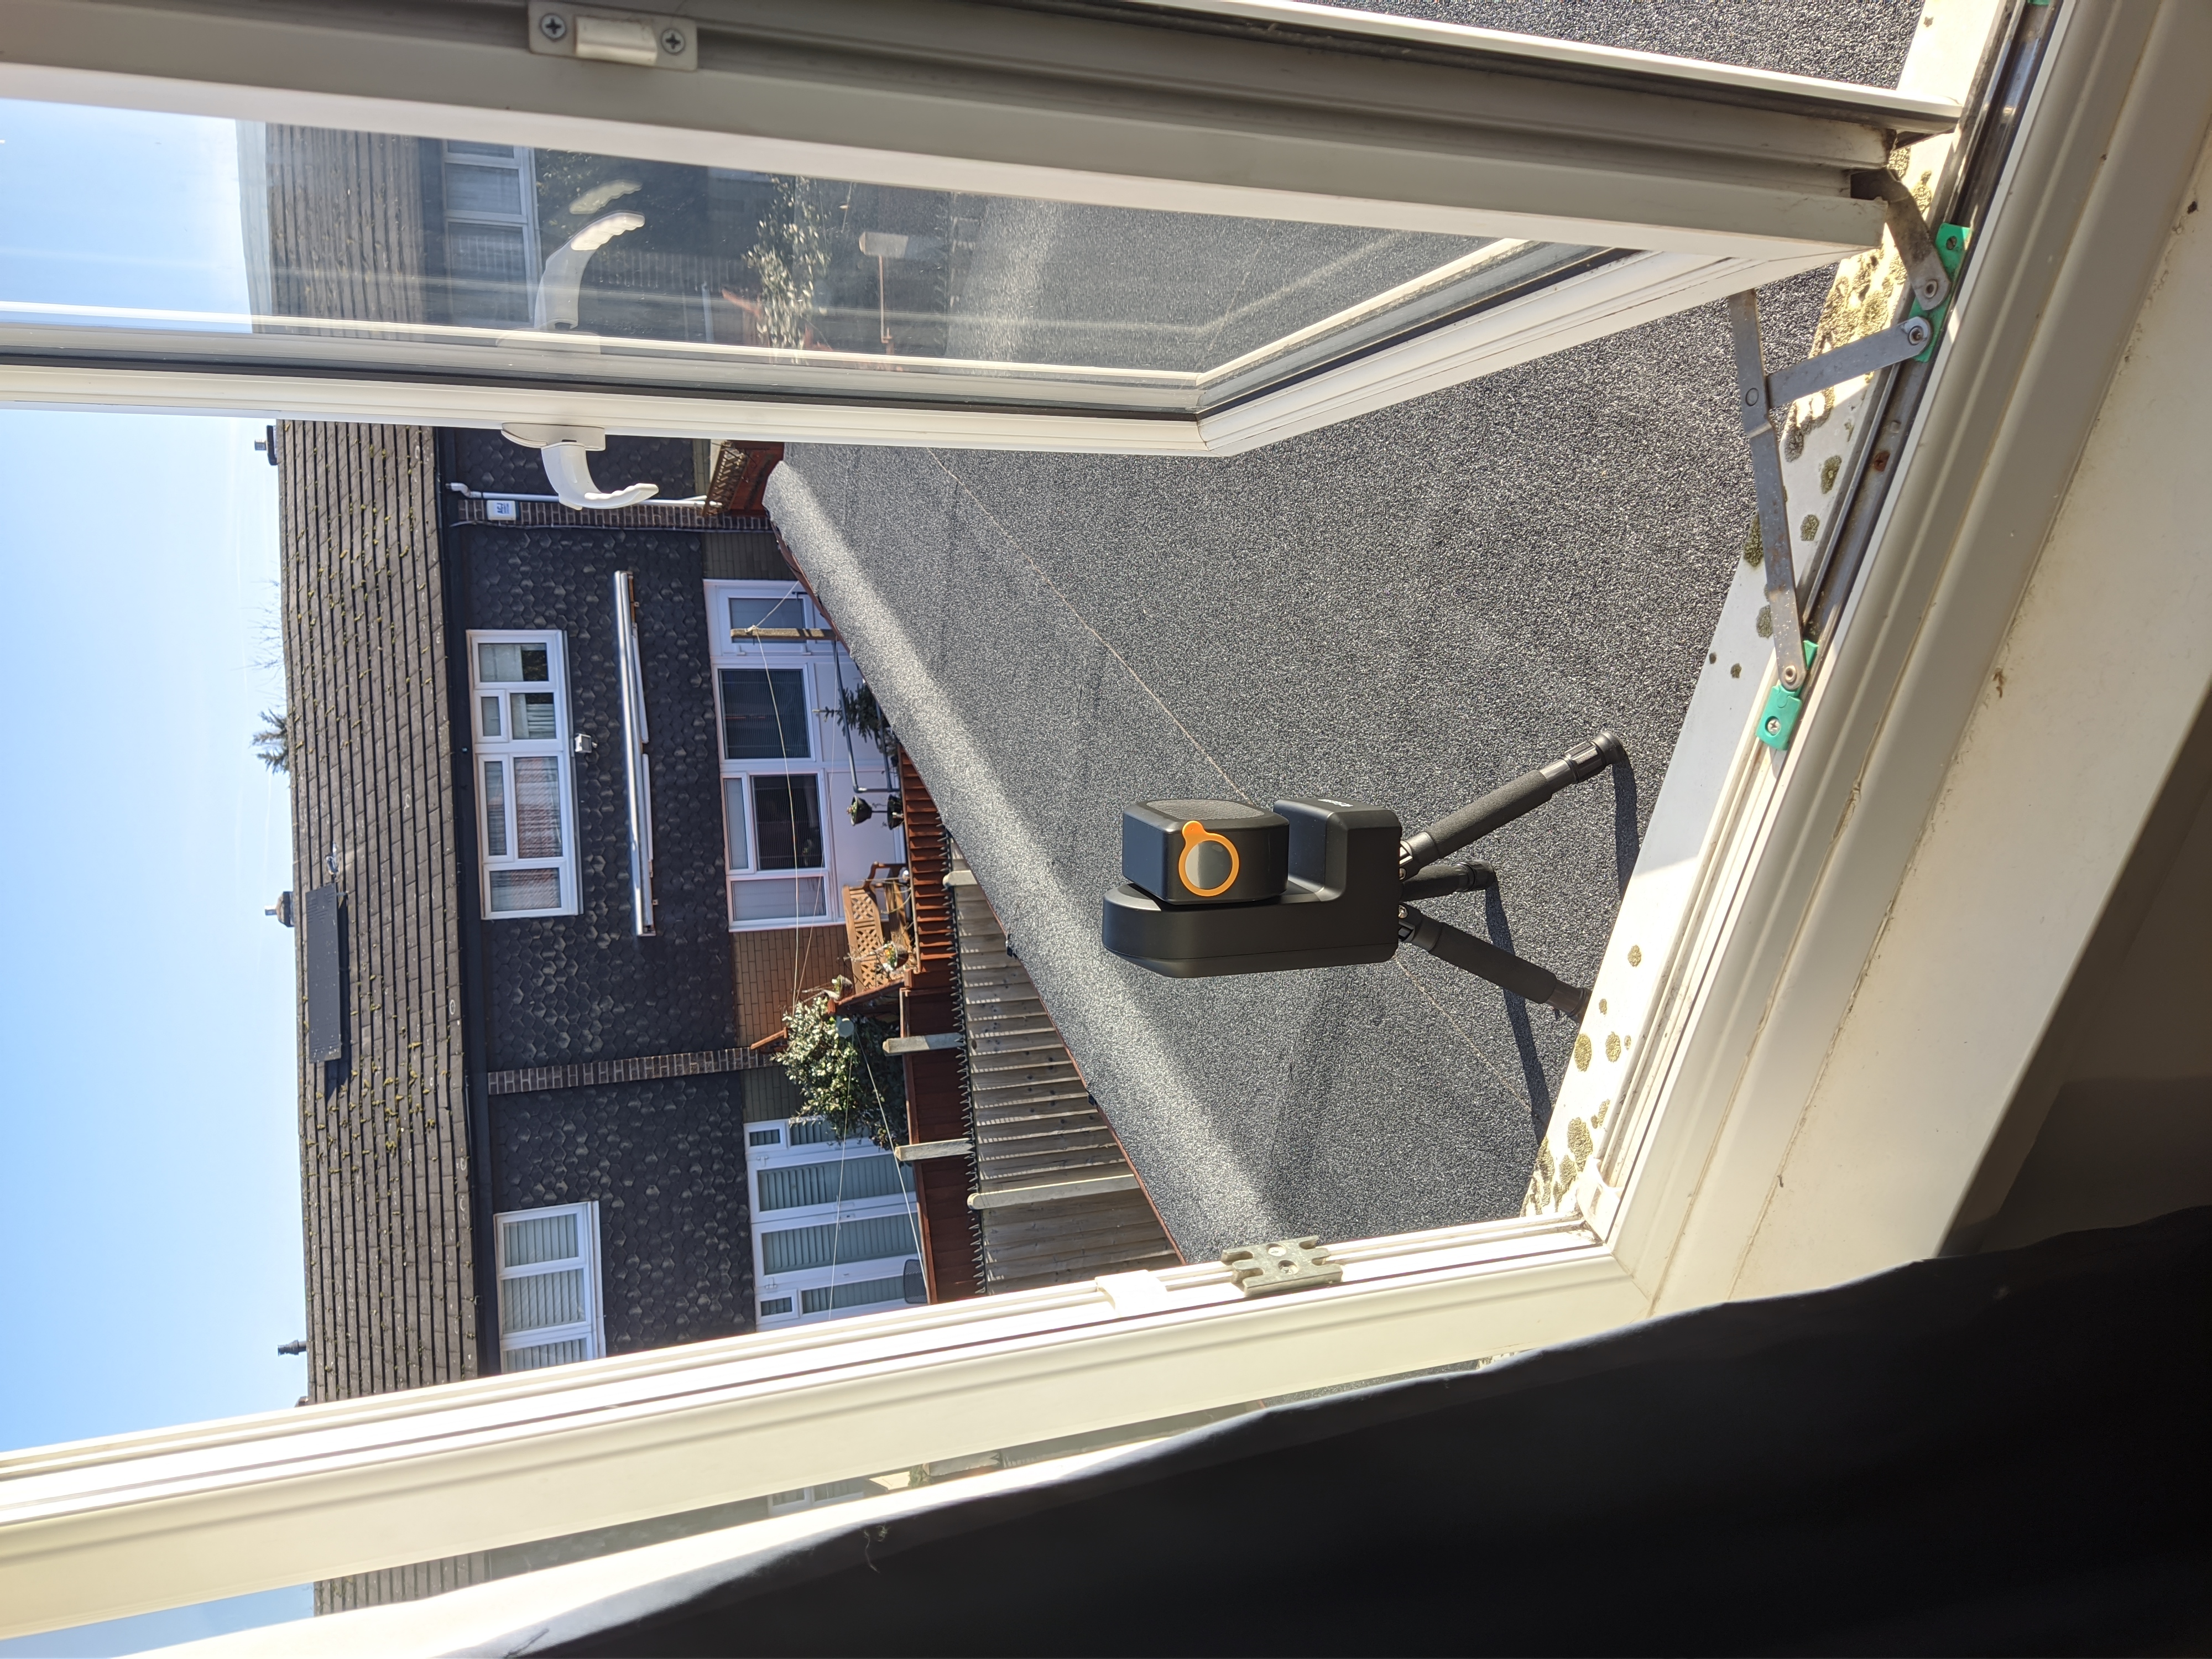
This actually made for a very comfortable experience. My telescope had unrestricted access to the sky, and was away from many light sources. Additionally, I could simply close the window and stop the cold from getting in, whilst controlling the telescope with my phone. For my first image of this session, I tried to get a better picture of Jupiter. This photo is much better, you can see all the 4 moons and there’s no background noise. This photo was taken 3 days after the first, and the positions of the moons in their orbits have already changed so much, which I think is really cool to see. I also tried experimenting with exposure and gain, and I was able to resolve a small amount of detail on Jupiter.
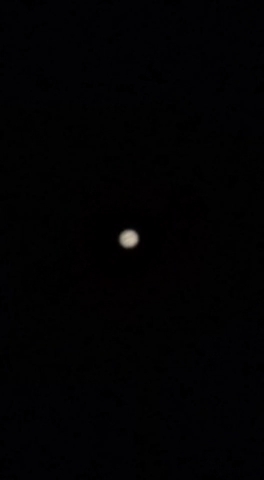
I also decided to try photographing Mars again. This is when I came across the key concept of focus. Until now, I had been letting autofocus do all the work for me. I enabled manual focus and got this really poorly focussed image of Mars. The image being out of focus sort of makes it look like I can actually see Mars really well, and I got fooled for a bit.
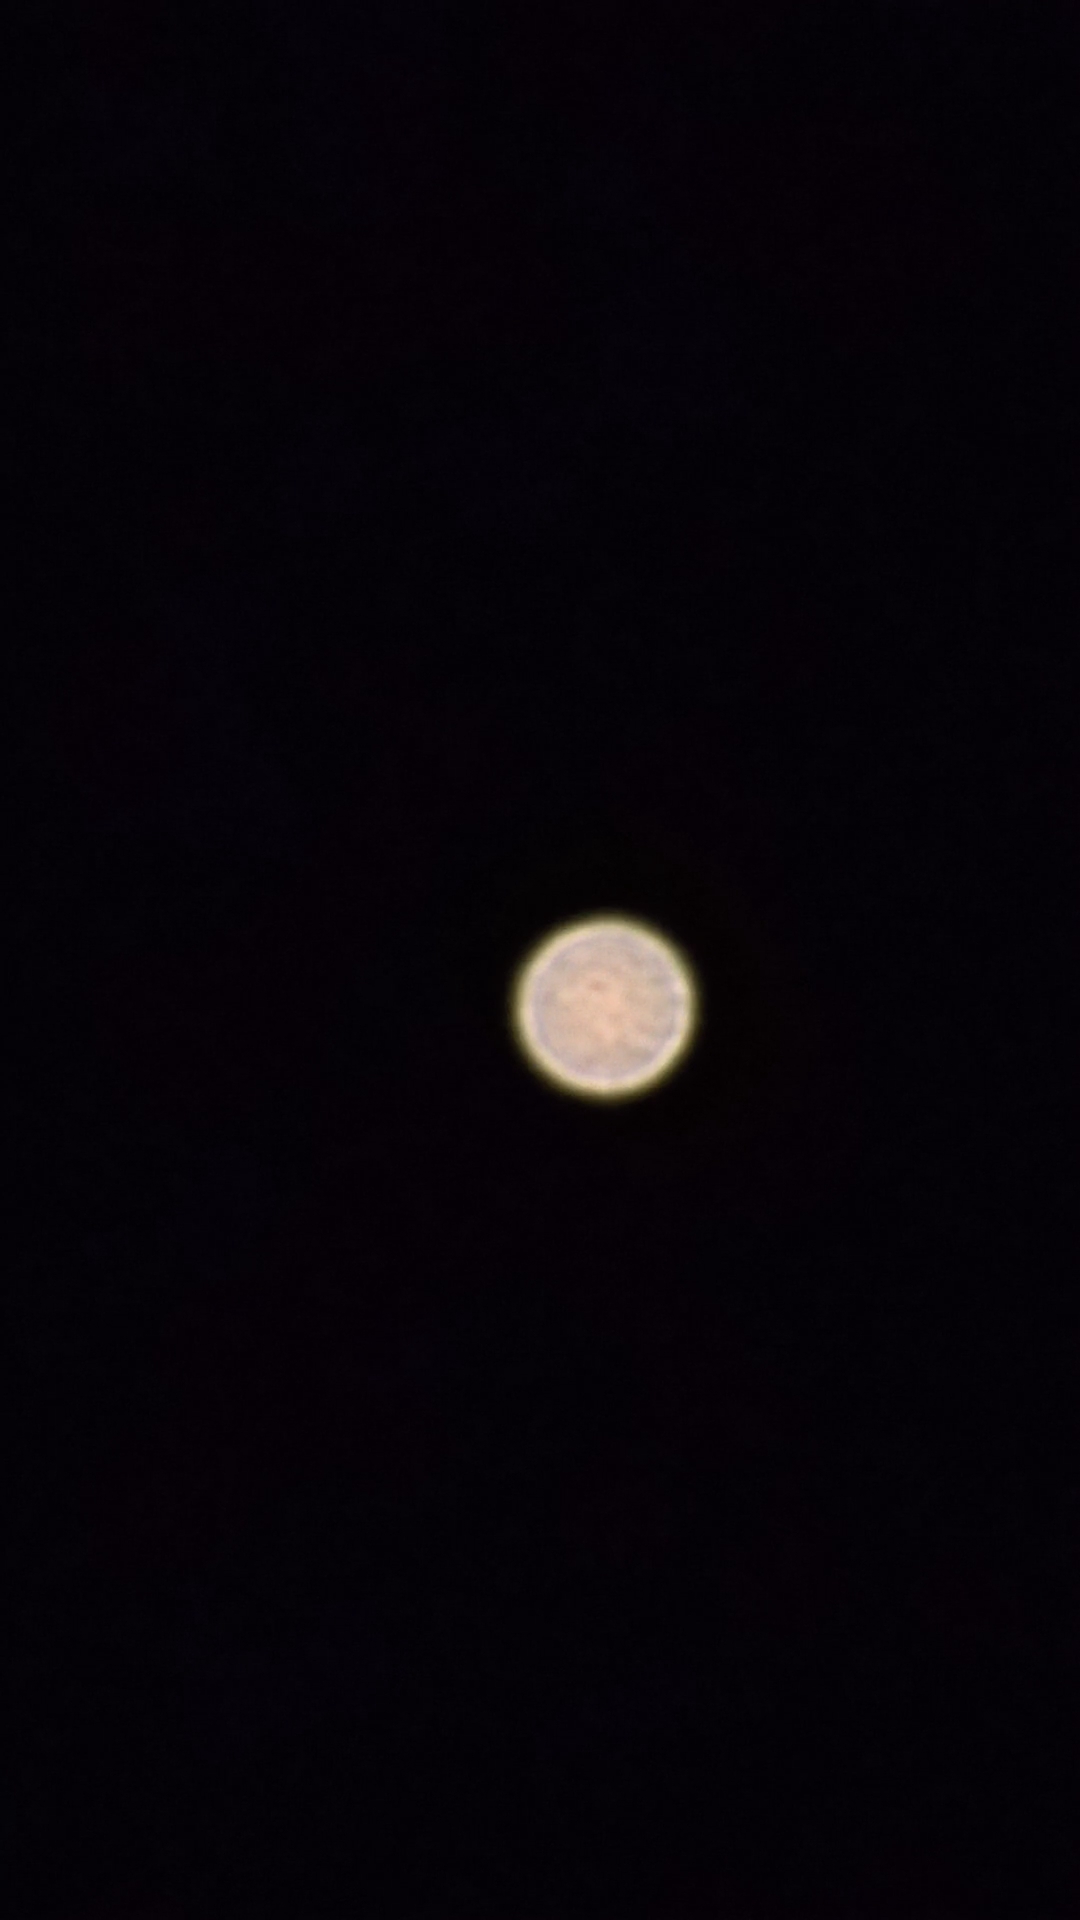
I also took a photo of Venus. I think it’s really cool how I can see just part of Venus lit up, just like the Moon.

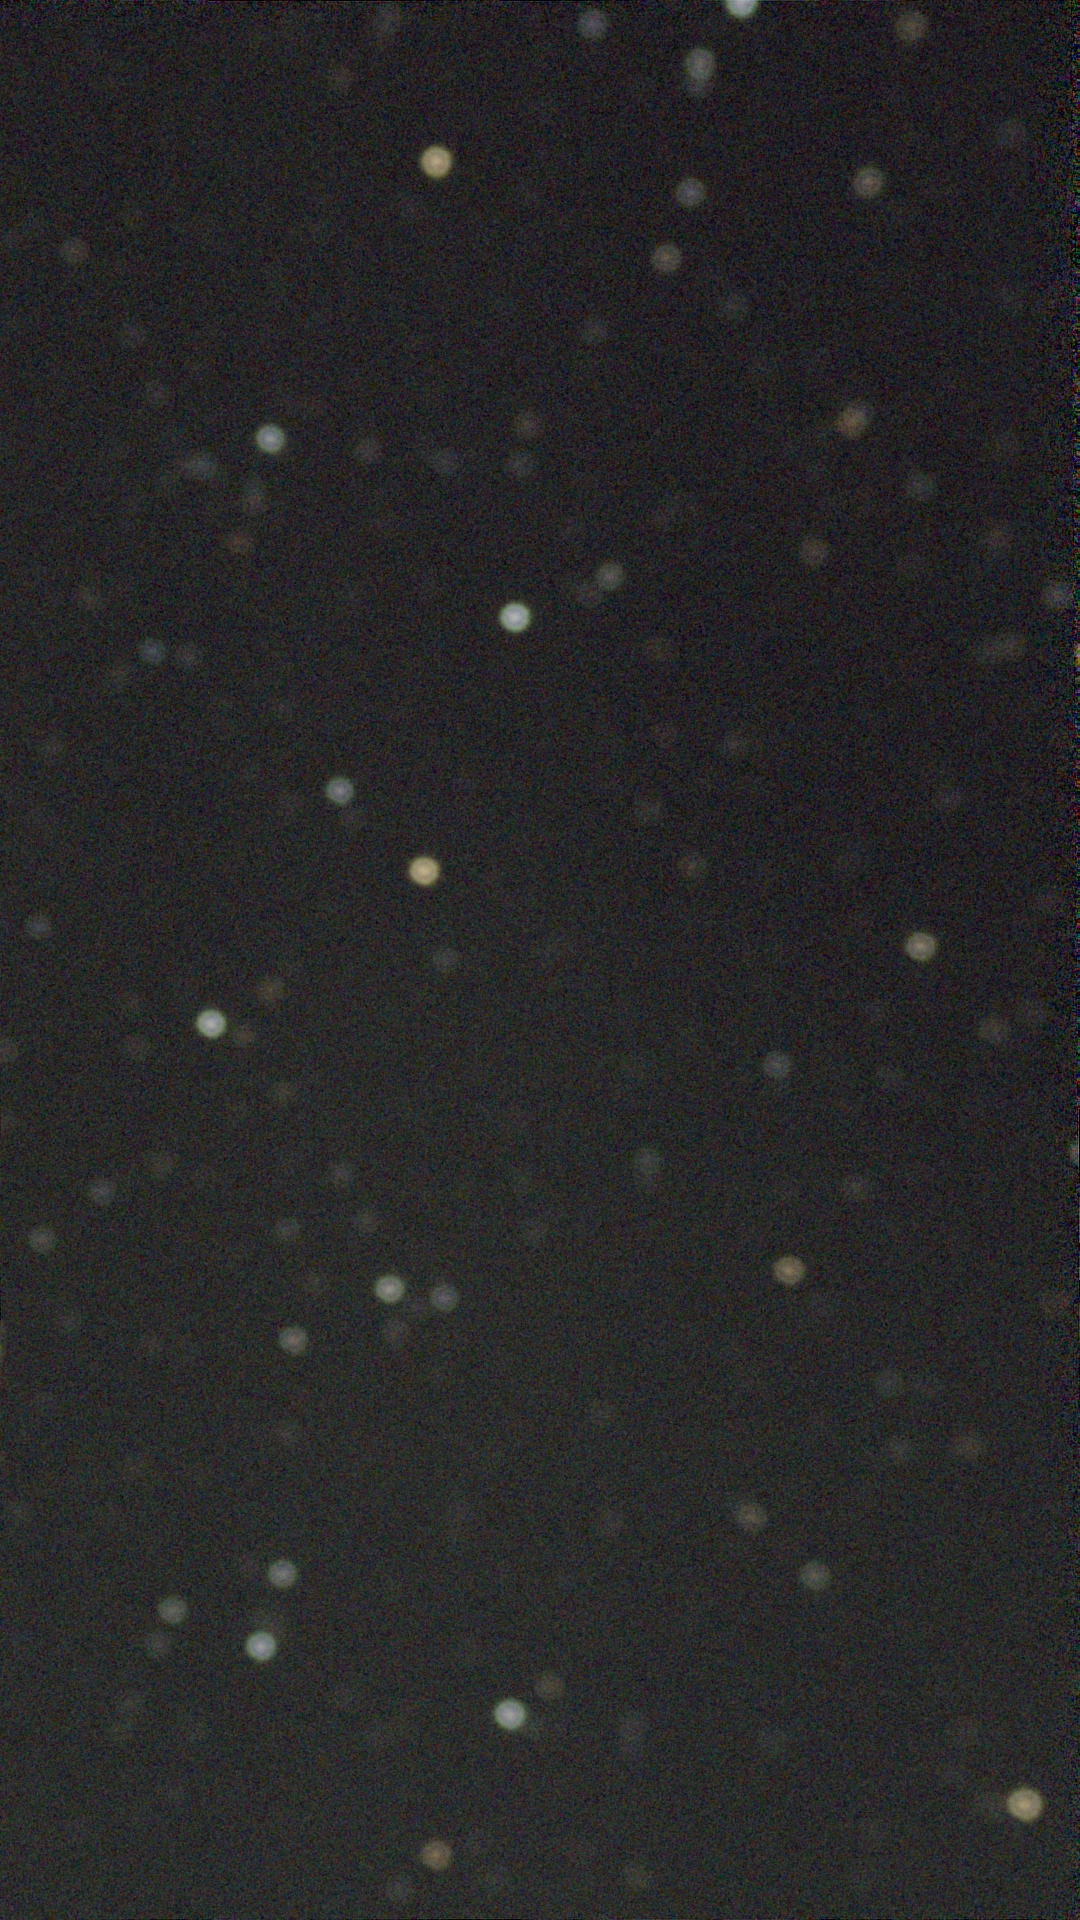
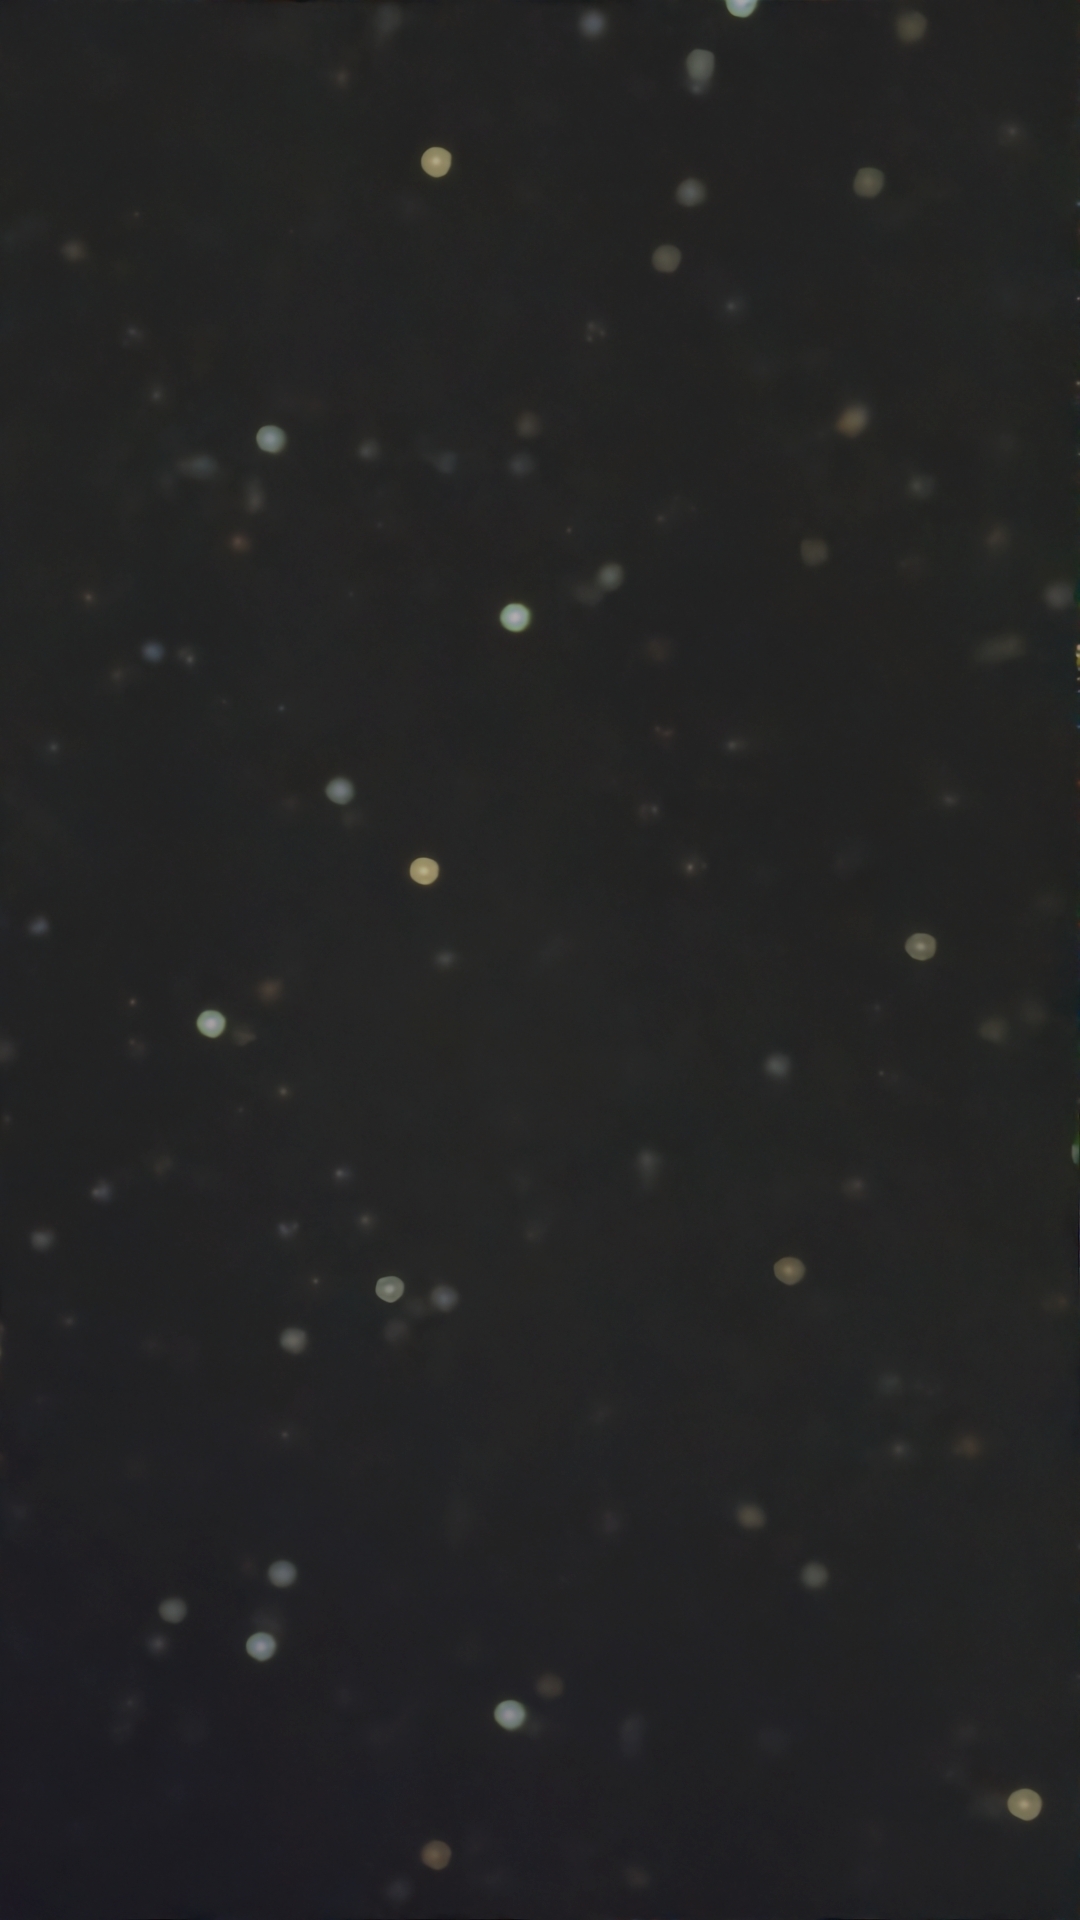
I once again wanted to try stacking. This time I tried stacking a photo of just a random part of the sky with lots of stars. Unfortunately, I forgot to focus the telescope and ended up with this shoddy image. Below it is the AI-denoised version that my telescope gave me.
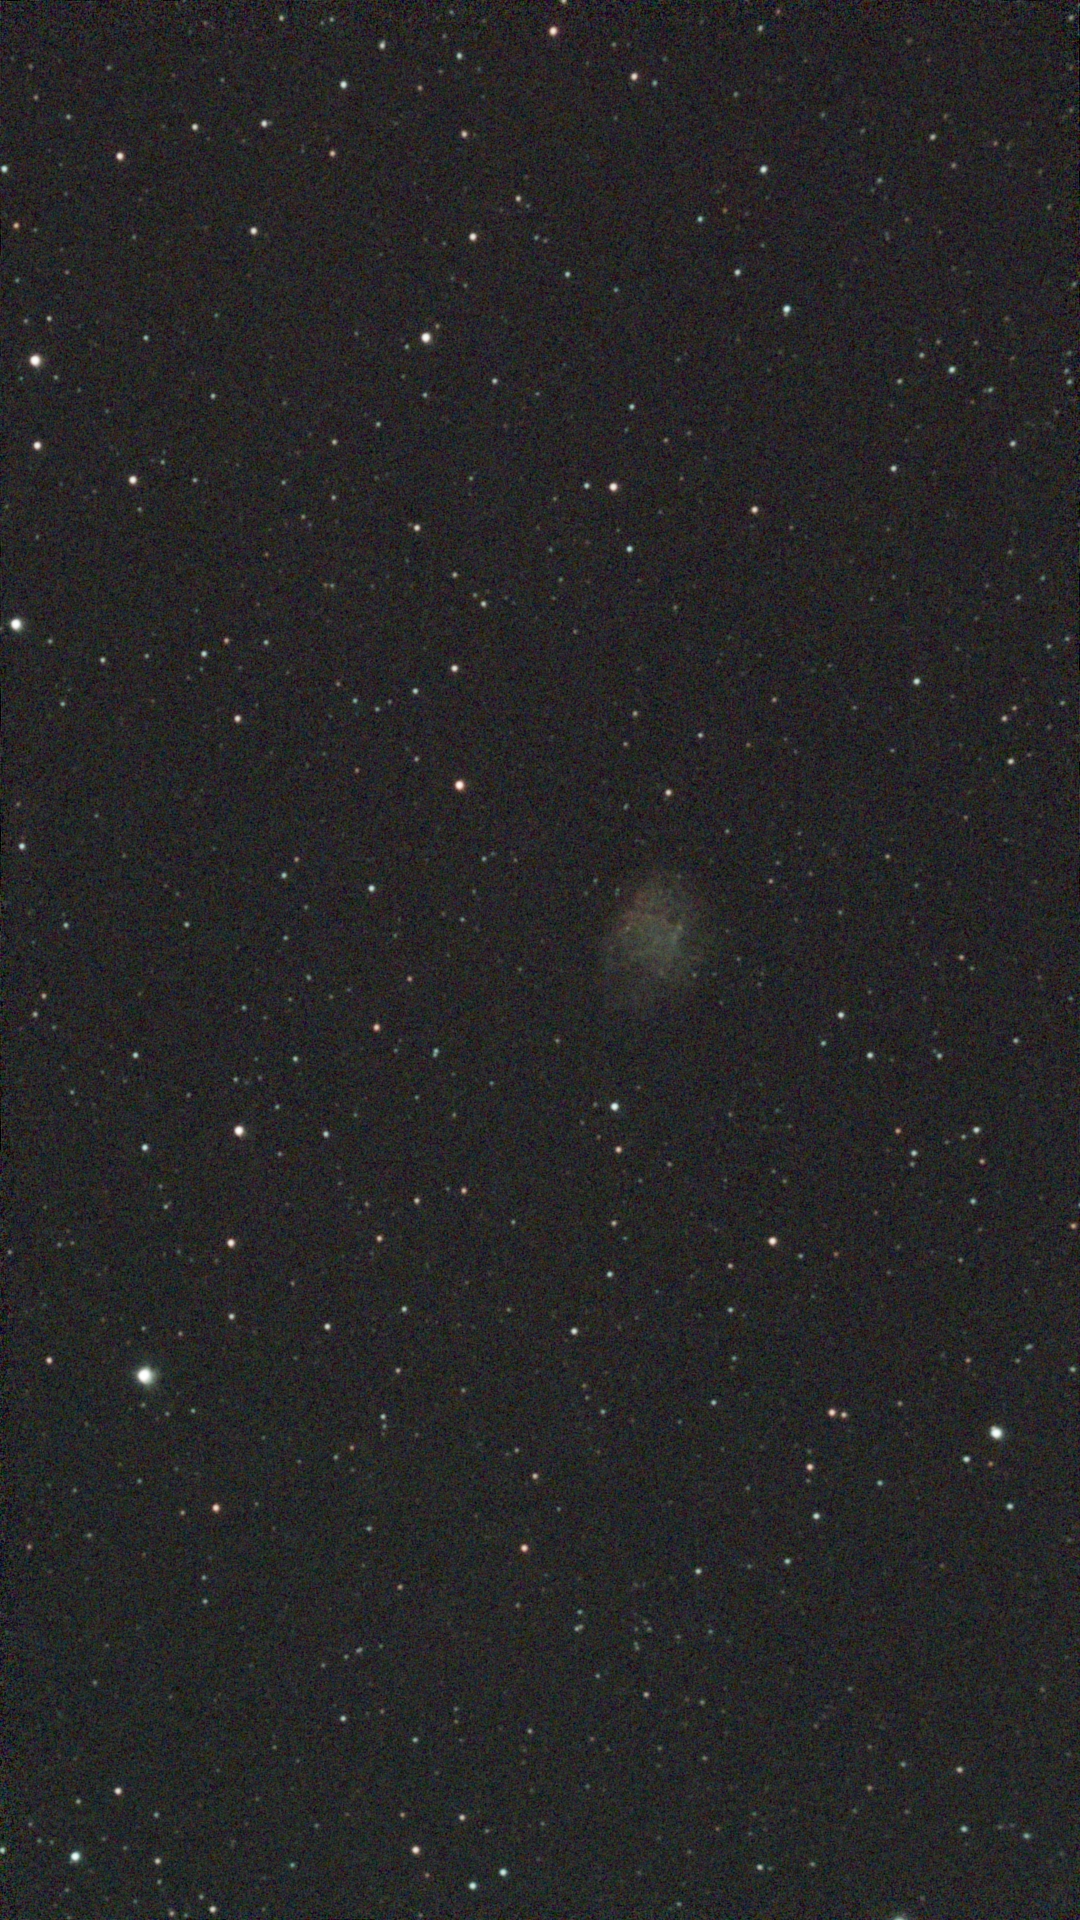
After fixing my focus, I decided to take a photo of the Crab nebula. The app told me it’s a top candidate for viewing at this time, and I decided to trust it. I let the telescope image for an hour, but it was only able to stack about 10 minutes worth of photos. Many, many photos were discarded because of star trails. Below is the image I got. That weird smudge is the Crab nebula. It’s not a great photo, but you can see some green and red. For some reason, after the first 1 or 2 minutes of stacked photos, the improvement was not noticeable.
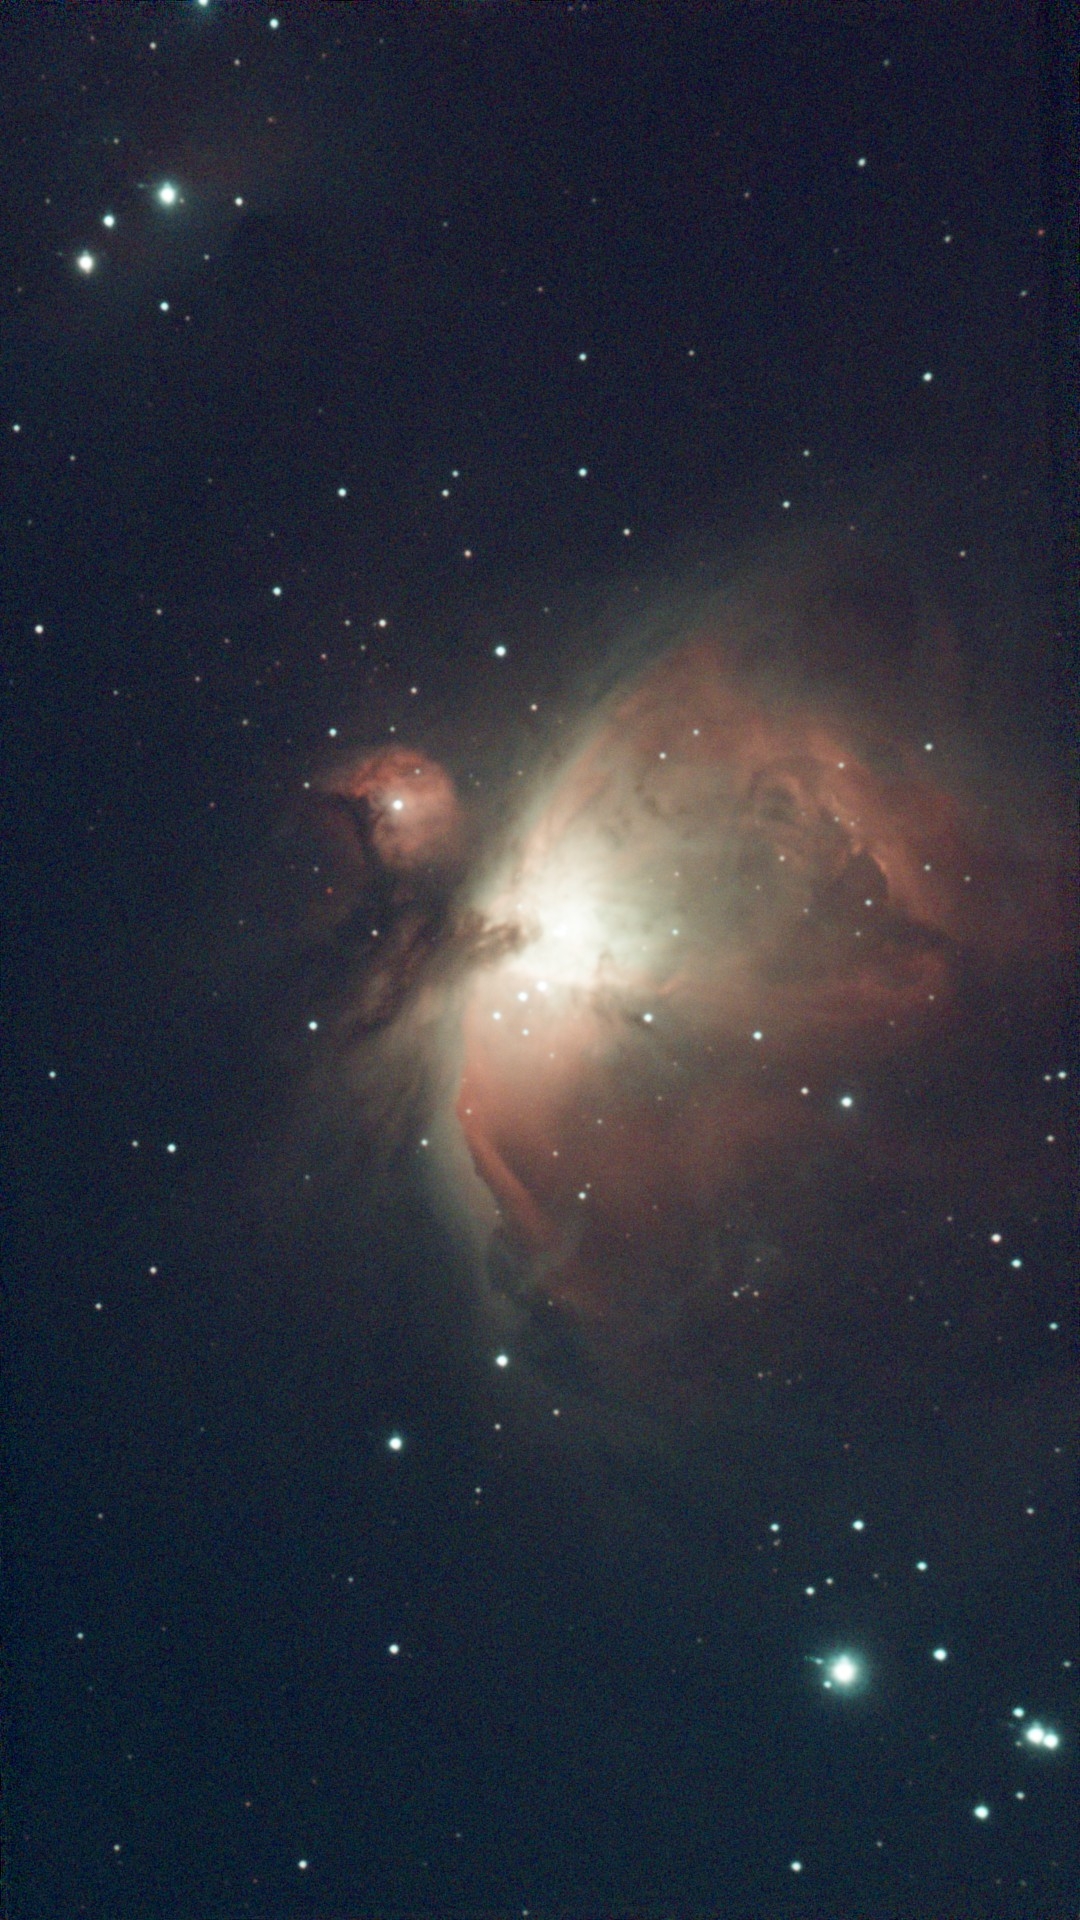
Finally, I decided to photograph the Orion/M42 nebula. This is my best photo yet. This nebula is not visible at all to the naked eye, and being able to see this with my telescope is just awesome.
It was at the end of this session that I discovered the calibration mechanism of the telescope. By going into the telescope’s settings in the app, you can see how flat it’s surface is. I found that even though my roof looked flat, it was actually quite sloped. I did some micro-adjustments using the tripod using the method that I mentioned earlier and got the app to show about 0.3 or 0.4 in the levelling interface which seemed pretty good. I also ensured to make the tripod level for future sessions.
Solar and Terran Imaging
The telescope also comes with a solar filter. Using this, you can take a photograph of the Sun. I decided to do it, as it was a really sunny day. Something cool I noticed is that using the solar filter you can look directly at the sun with your own eyes, and it looks like an orange ball. It’s pretty funny.
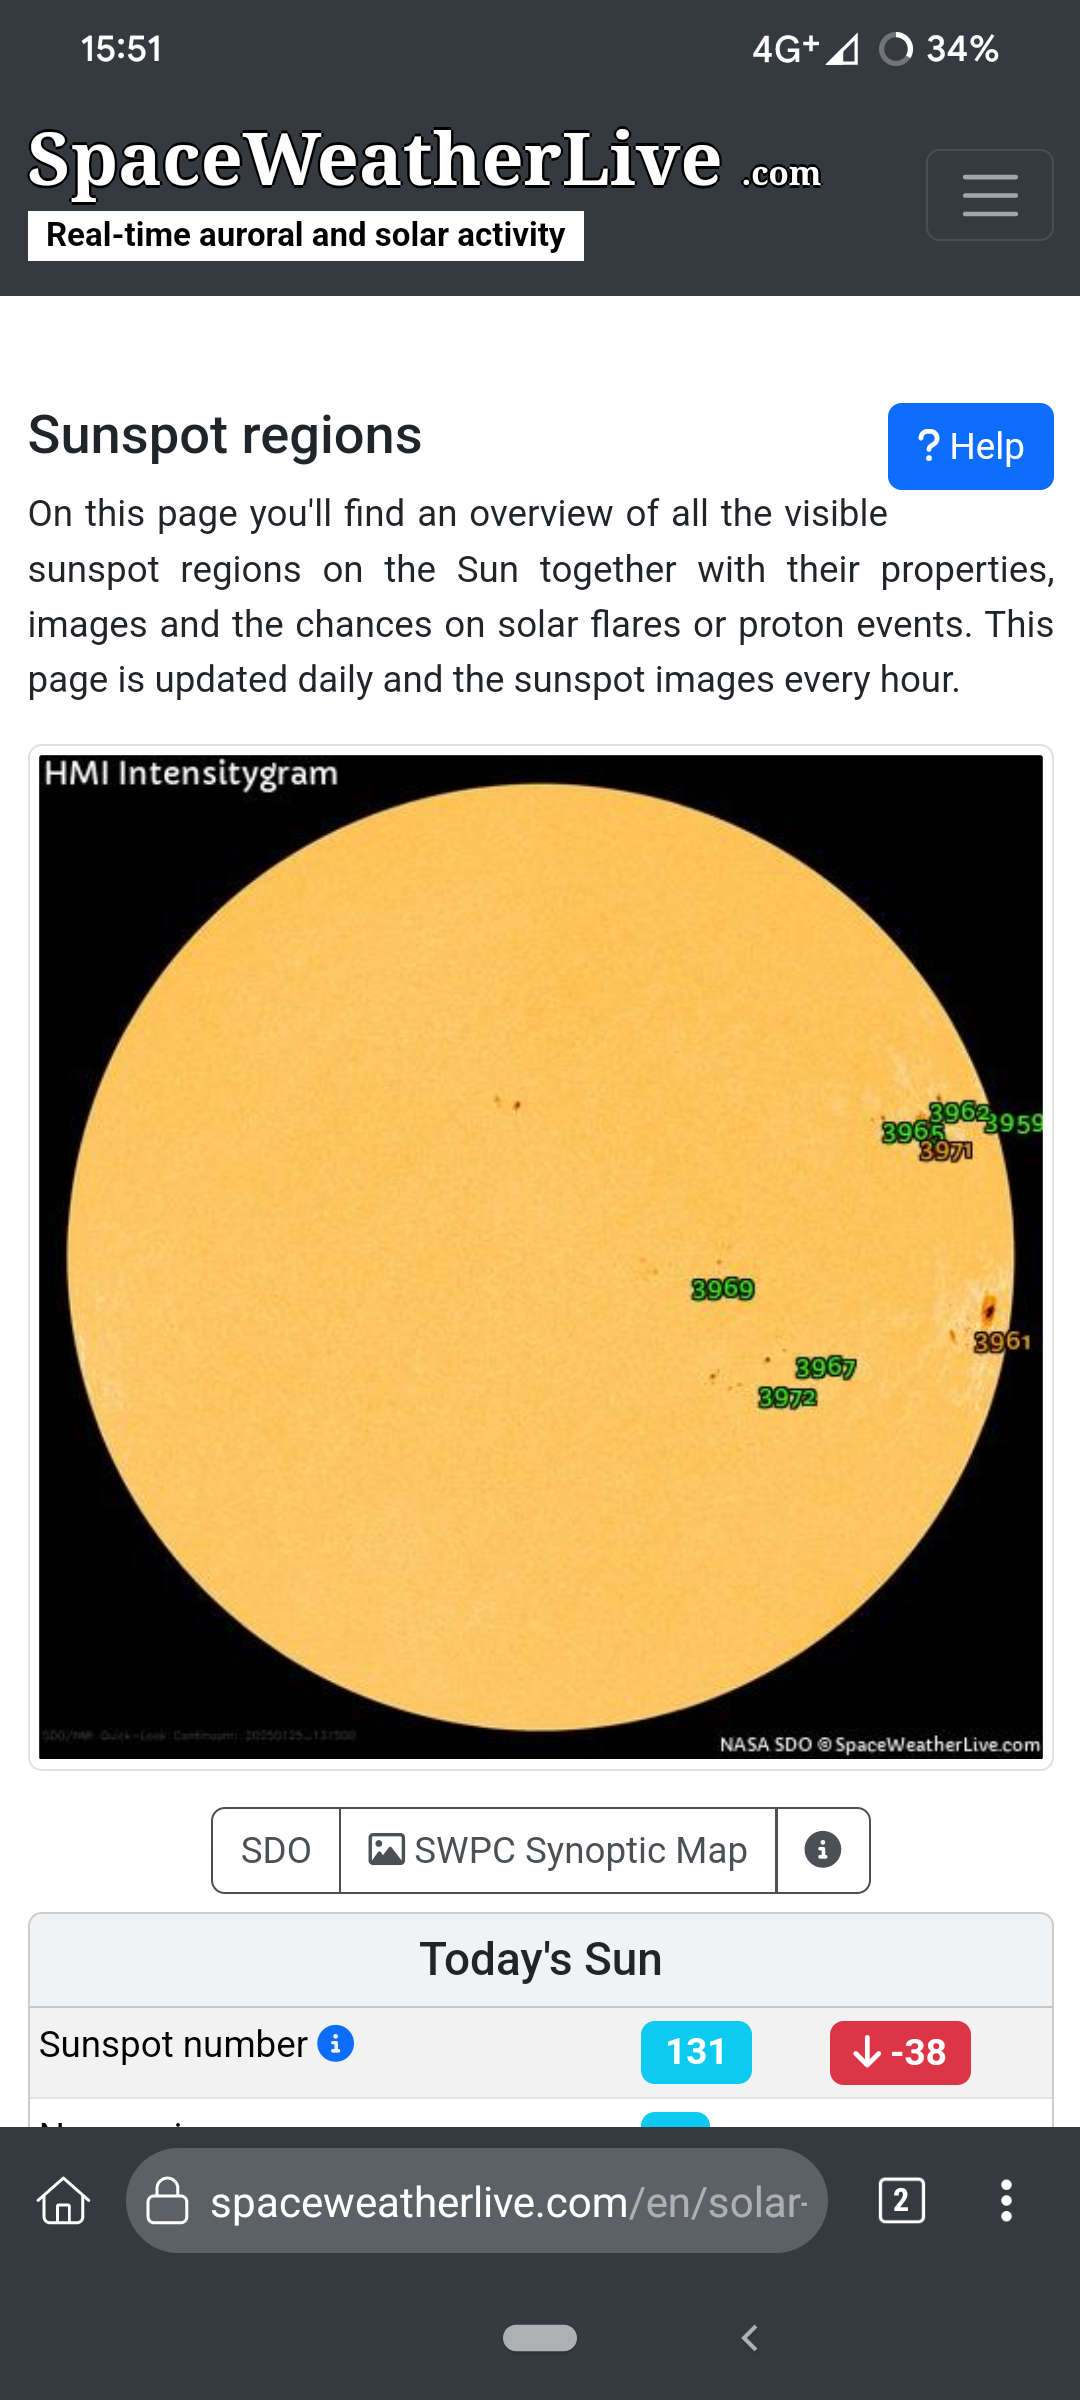
This photo of the Sun is really cool to me. You can even see the sunspots. Something that I thought was interesting is that it’s extremely perfect. In movies and art the Sun is always portrayed as having this really rough surface, full of solar flares and stuff, but it’s really just a ball when looked at from this far away. I also thought it’s really interesting that the sunspots in my photo match exactly with this website that tracks a live image of the sun with its sunspots.

Finally, I decided to come back to earth and take a photo of a distant building. The amount of detail that it was able to resolve surprised me.

Siril and Post-Processing
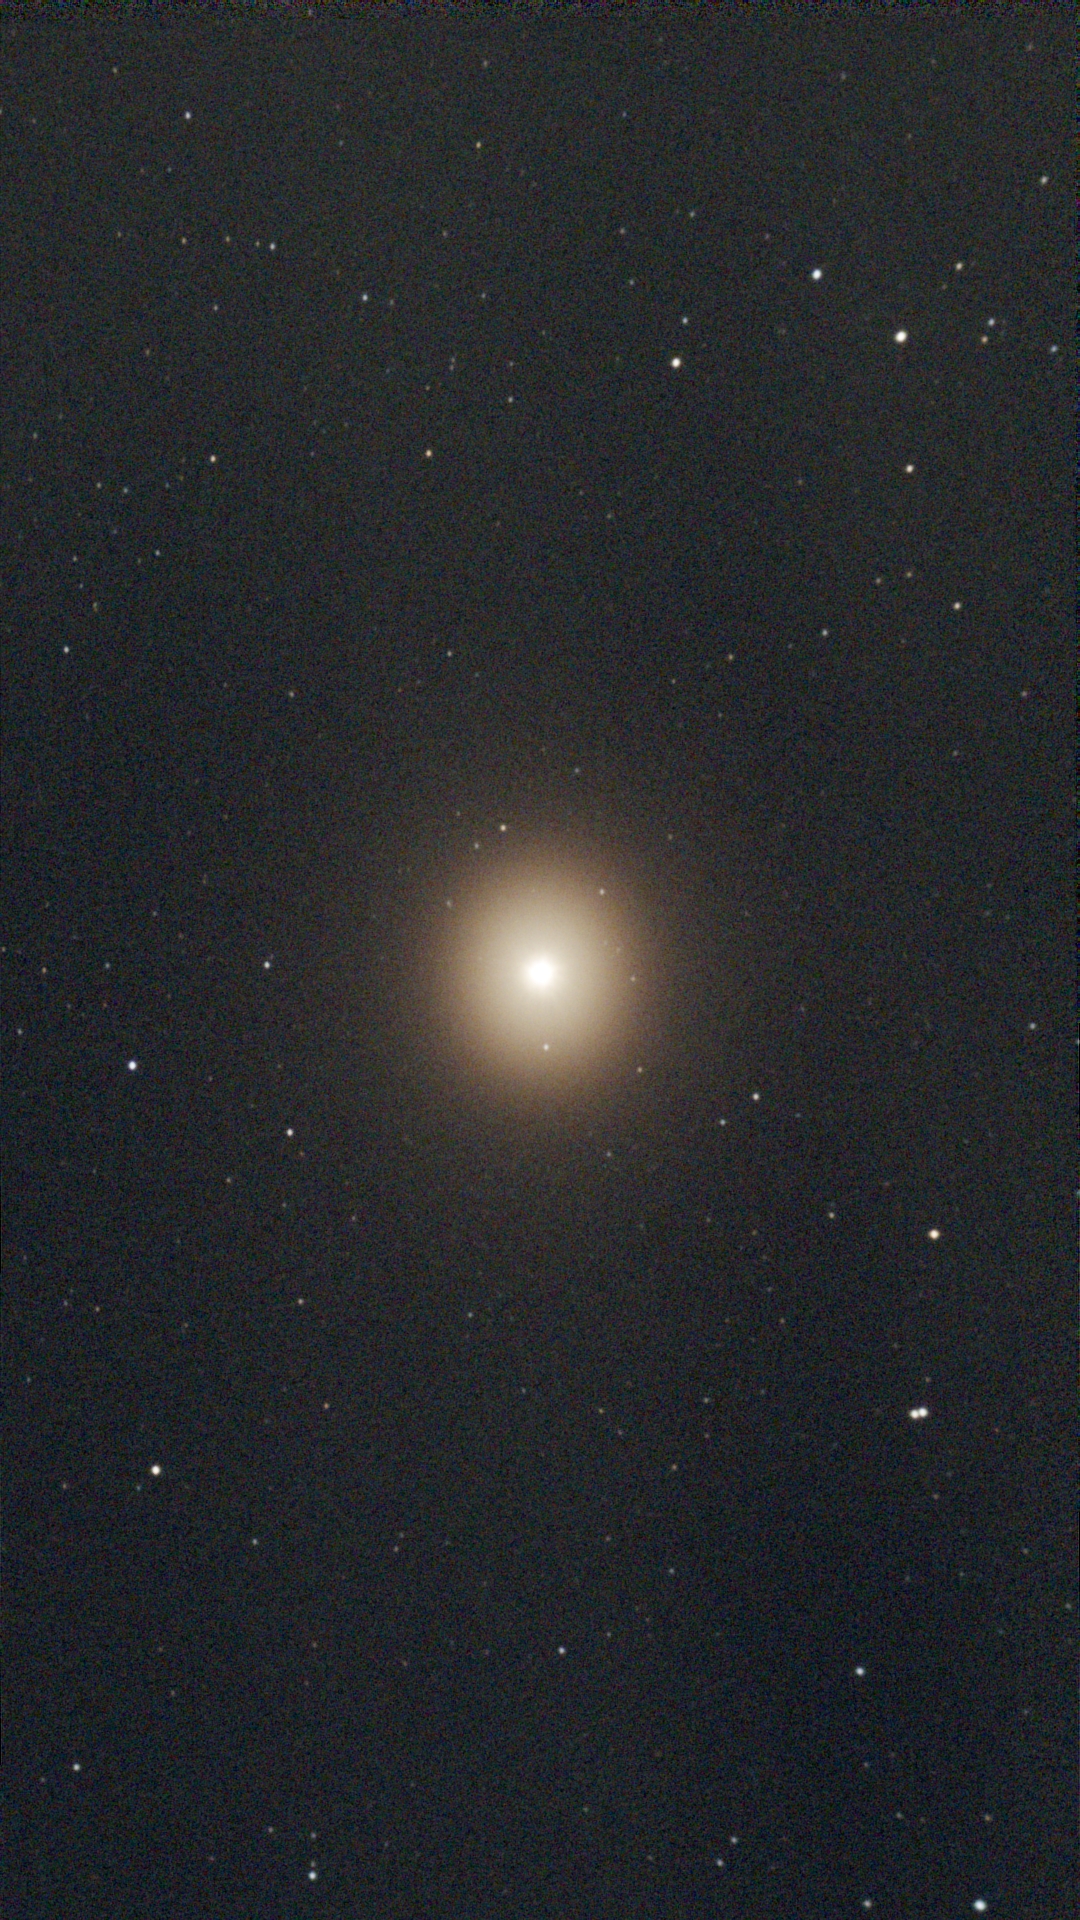
Here’s a photo of Betelgeuse!
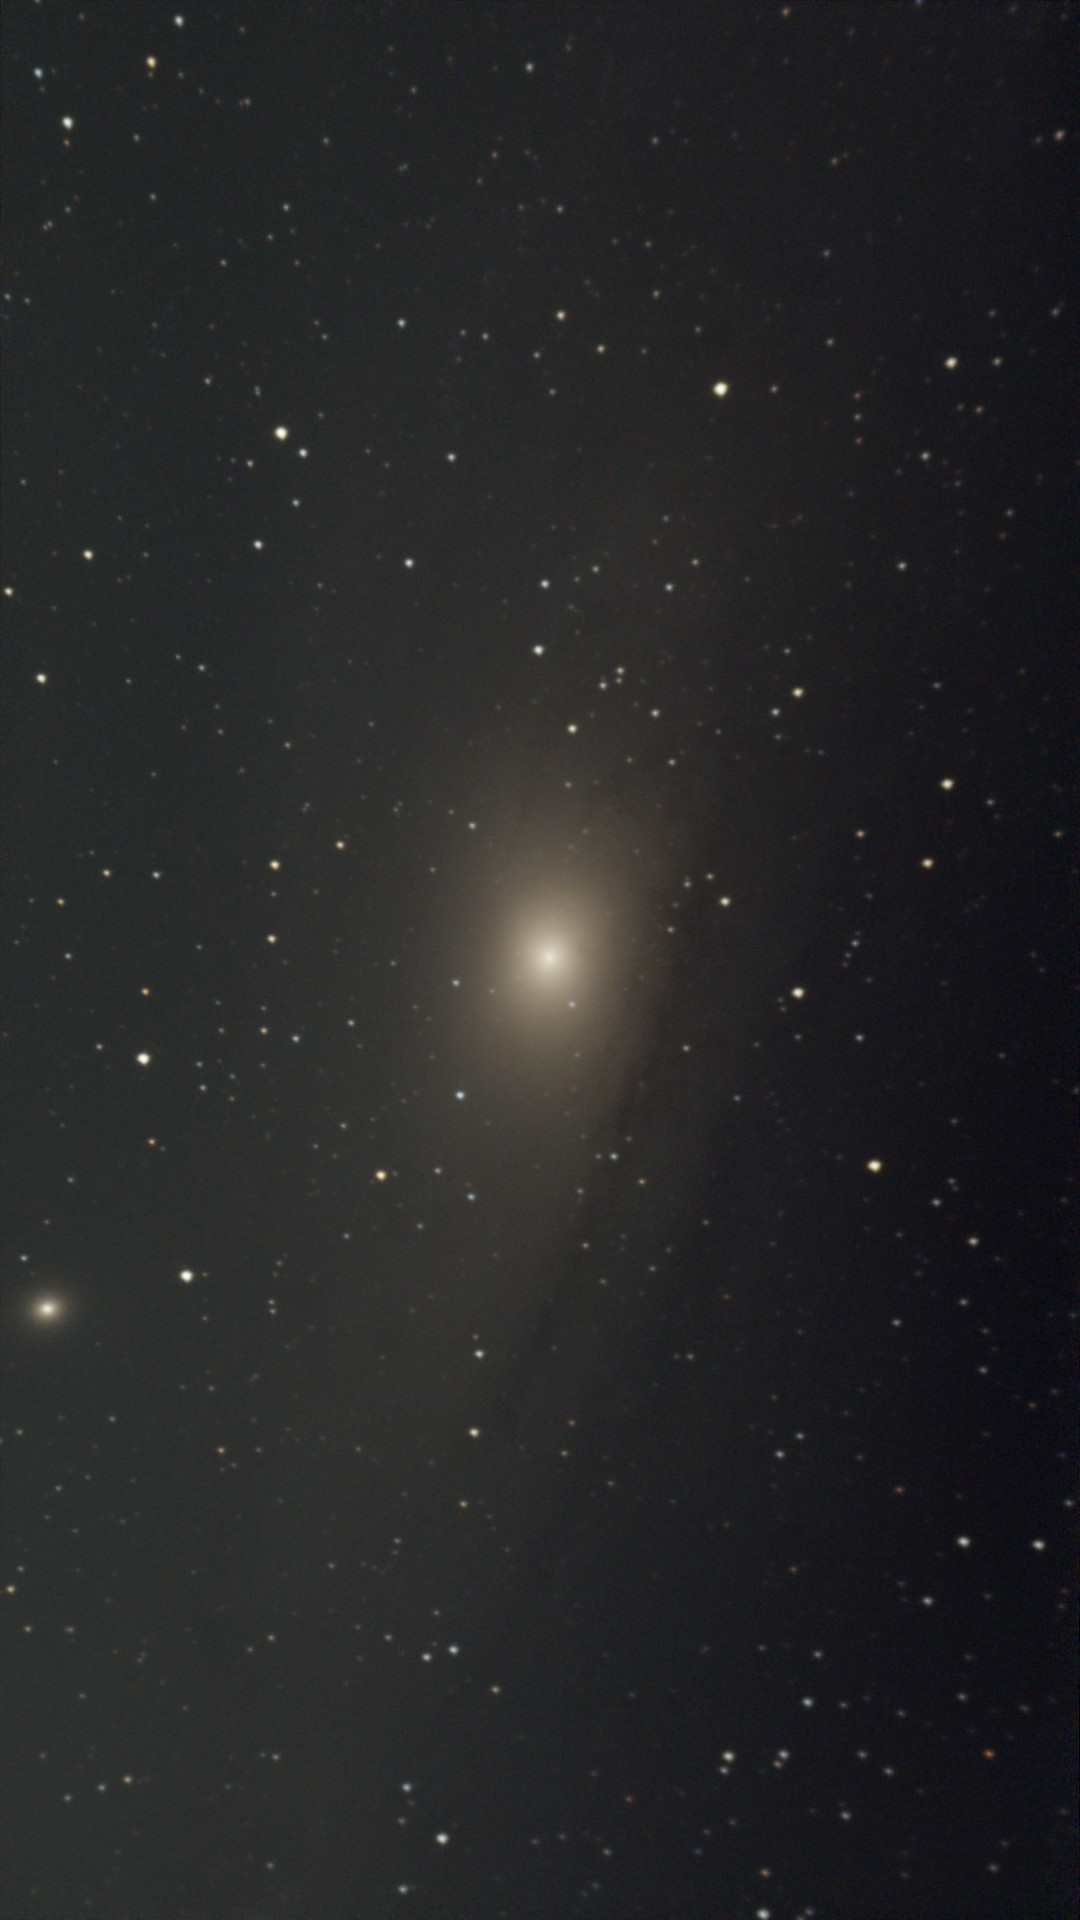
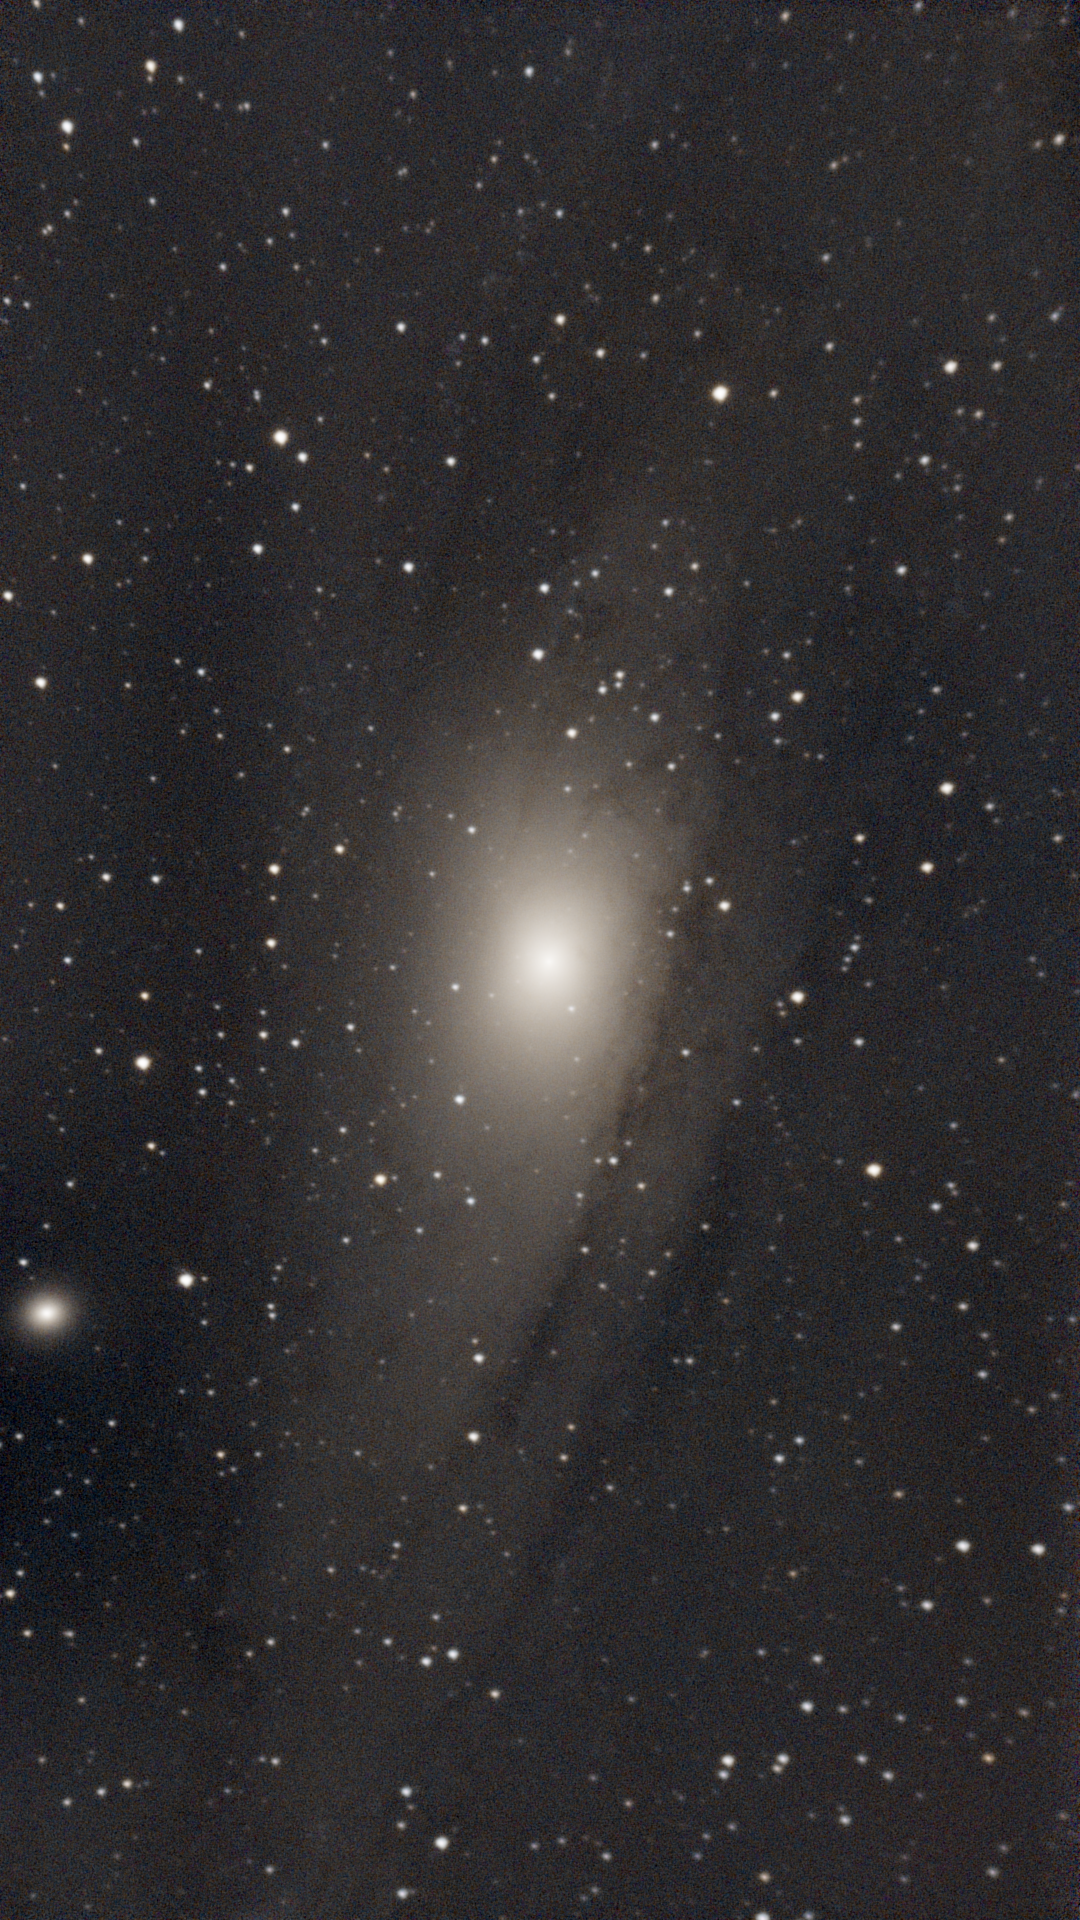
In this session I also took a photo of the Andromeda galaxy. I followed this tutorial and applied some post processing. The amount of detail that stacking the images manually exposed was honestly amazing. I will be doing this more often from now on. I also ensured that my tripod was level in this session, and I got much fewer errors as a result. Overall, I took 286 images which took 3 minutes to stack in Siril, and I imaged for an hour and a bit.
Closing Thoughts
Overall I’m really happy with my purchase. It’s only been a week but I’m constantly learning more things about astronomy and astrophotography, and being able to see the cosmos from my roof is just really great. I’ll be making more astrophotography posts here, so be sure to stay tuned!